Supplies:
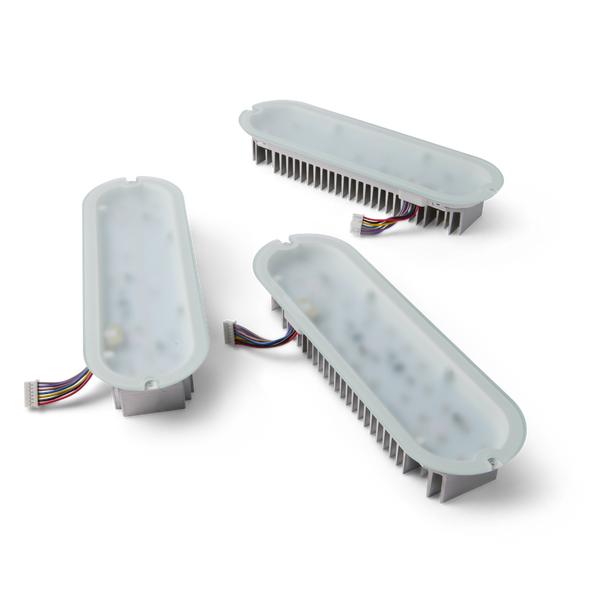
Formlabs:- Replacement LED modules
- 2.5 mm hex driver (included in the Form 4 tool caddy)
- Flathead screw driver
- Nitrile gloves
The Form Cure (2nd Generation) has three LED modules that expose printed parts to light during post-curing. If any of the LED modules are malfunctioning or broken, printed parts may not post-cure properly and may not reach their optimal mechanical properties.
Use this guide to remove and replace the Form Cure (2nd Generation) LED modules.

Supplies:
Formlabs:Estimated time: 20–30 minutes (additional time may be required to allow the post-cure chamber to cool if the machine was recently in use or if you are replacing multiple modules)
危险:
请阅读并遵守操作手册中的所有安全说明和警告。更换错误的部件可能会引起烧伤、触电、火灾或爆炸。请根据地方法规处置所有部件。
准备工作区
OVERVIEW: Prepare the Form Cure (2nd Generation) and workspace for replacing the LED modules.
Step 1: Prepare the workspace
Clear a workspace around your machine. Ensure that the workspace is well-ventilated and free of dust.
Step 2: Clean the Cure chamber
警告:
树脂可能引起皮肤刺激或皮肤过敏反应。处理液态树脂或树脂涂层表面时,请戴上手套。用大量肥皂和水冲洗皮肤。
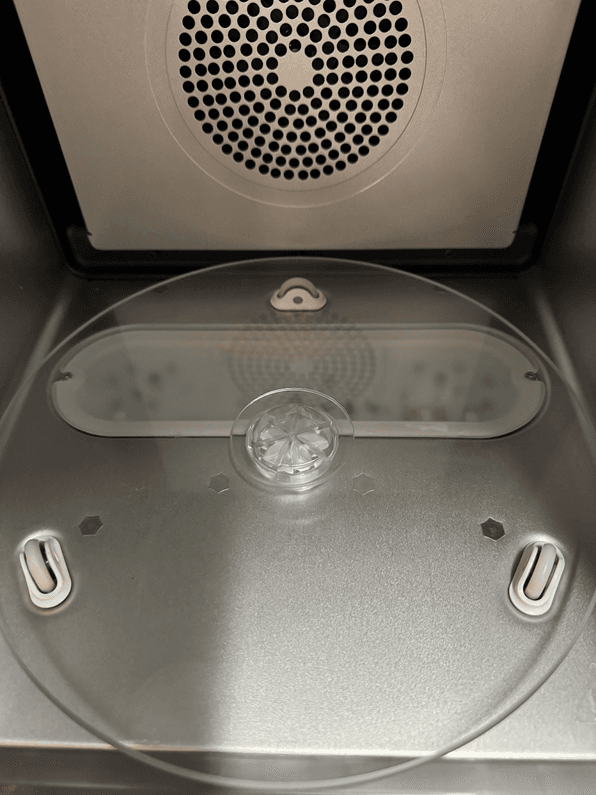
打开 Form Cure 的门。用纸巾清理后固化室中可能积聚或固化的所有树脂。如有必要,可使用异丙醇沾湿纸巾。
危险:
IPA 属于易燃化学品。请始终盖好容器盖子,防止儿童接触。在开始后固化周期前,确保 IPA 完全挥发。
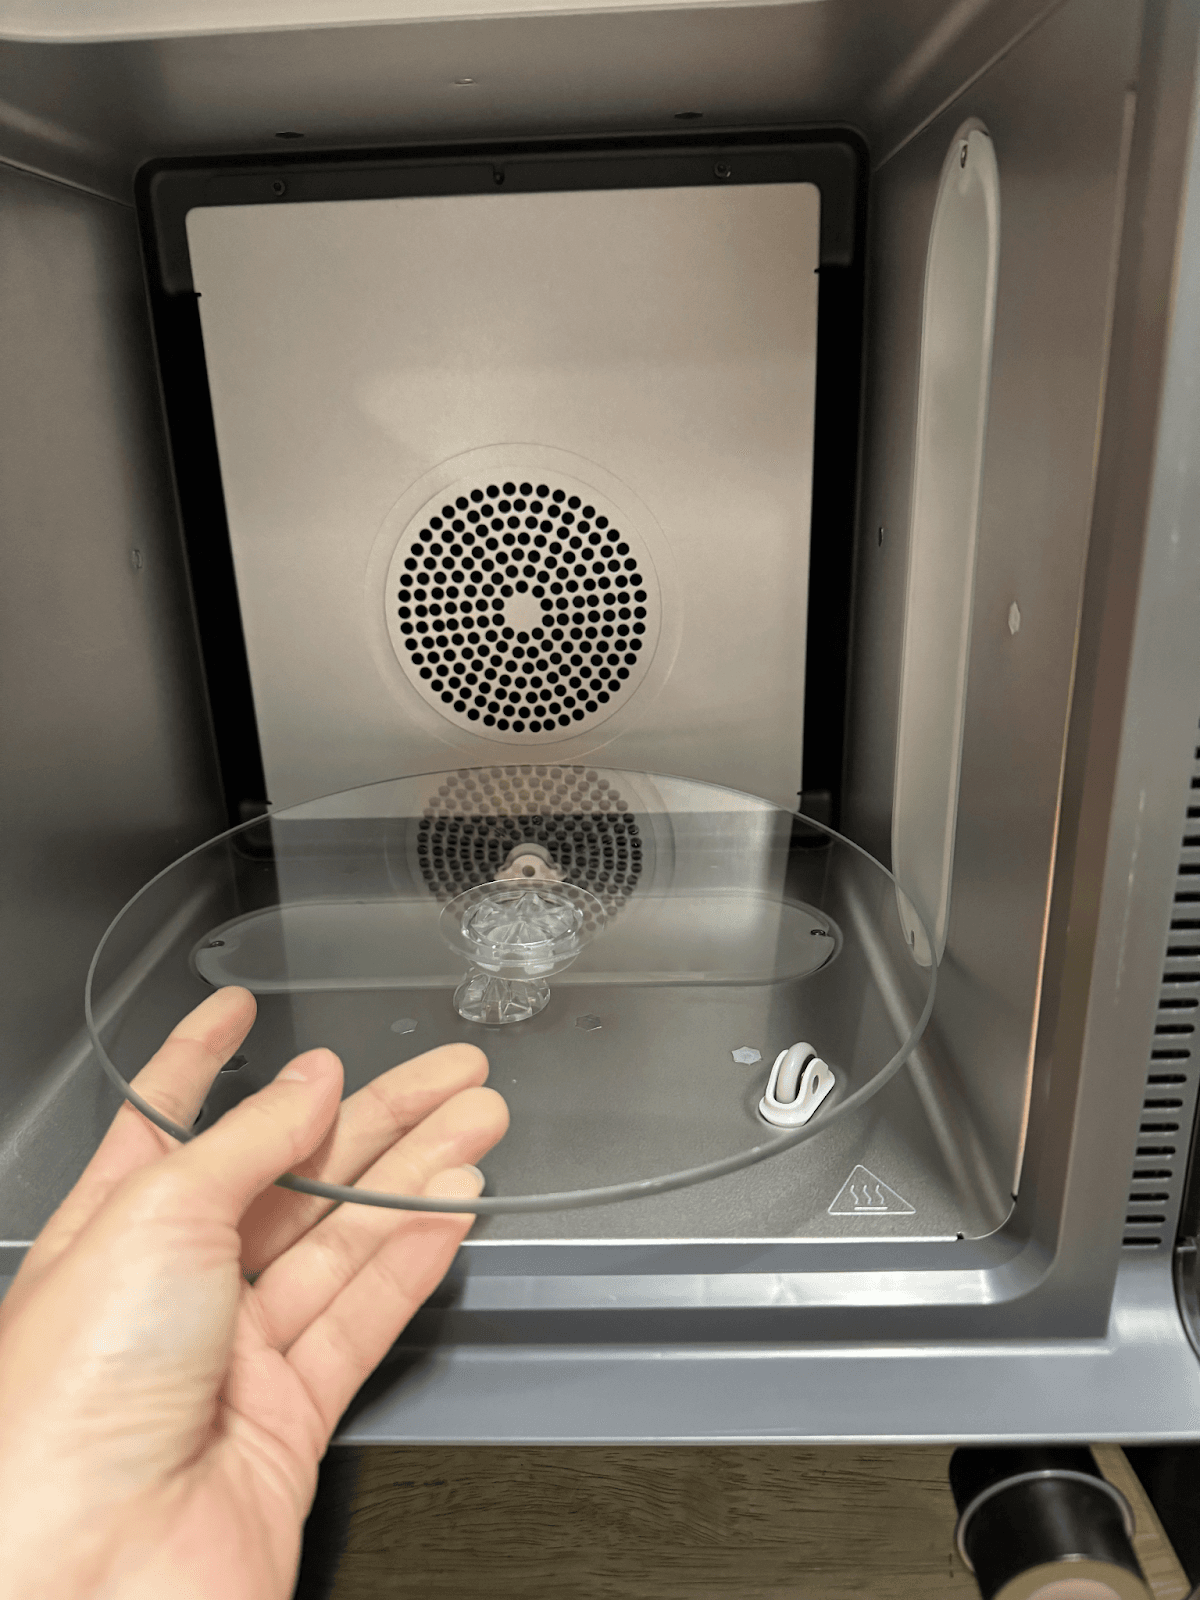
Lift the turntable directly upwards off the rollers and set it aside.

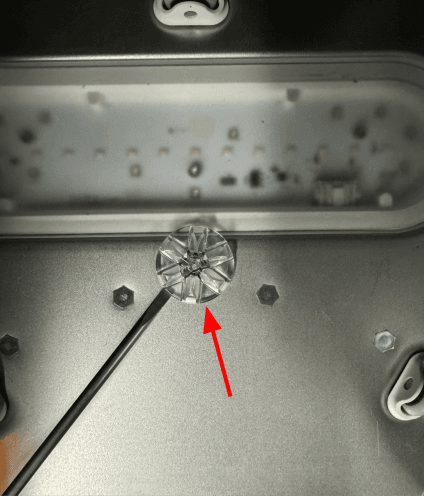
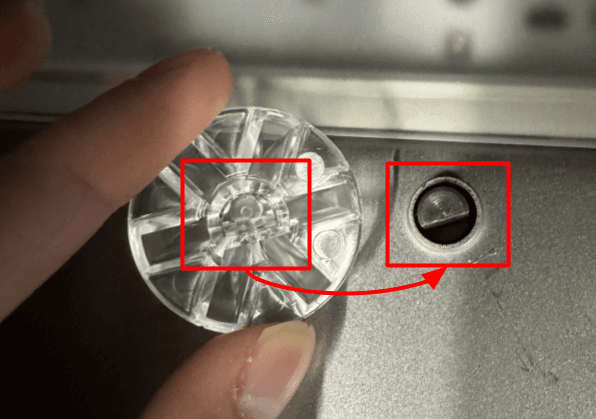
Use a flat-head driver to remove the turntable mount. Set the turntable mount aside for later reinstallation.

Step 5: Unplug the machine
Turn off the machine using the power switch on the back of the unit. Disconnect the power cable before continuing with maintenance. Do not perform maintenance on the machine while it is connected to power. Wait five minutes after disconnecting the machine from power before proceeding. If the machine was recently in use, the post-cure chamber will be warm. Wait at least 10 minutes for the chamber to cool.
危险:
在机器通电时进行维护会增加触电风险。在机器通电时,切勿拆卸机器外壳。在尚未安装外壳的情况下,切勿重新接通机器电源。
Replacing the LED module
OVERVIEW: Unscrew, unplug, and uninstall the malfunctioning LED module.
Step 1: Remove the LED module retention screws

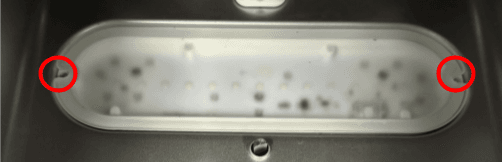
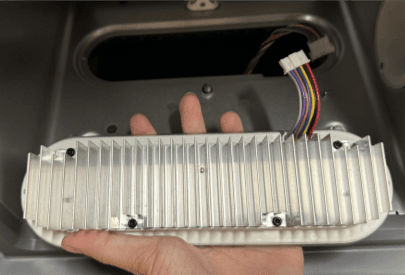
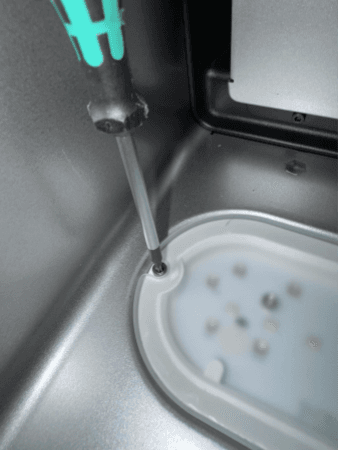
Using a 2.5 hex driver, unscrew and remove the two LED module retention screw securing the malfunctioning LED module to the machine. Set the screws aside.
Step 2: Disconnect the LED module cable


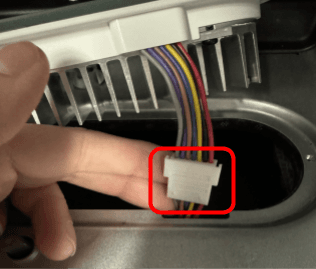
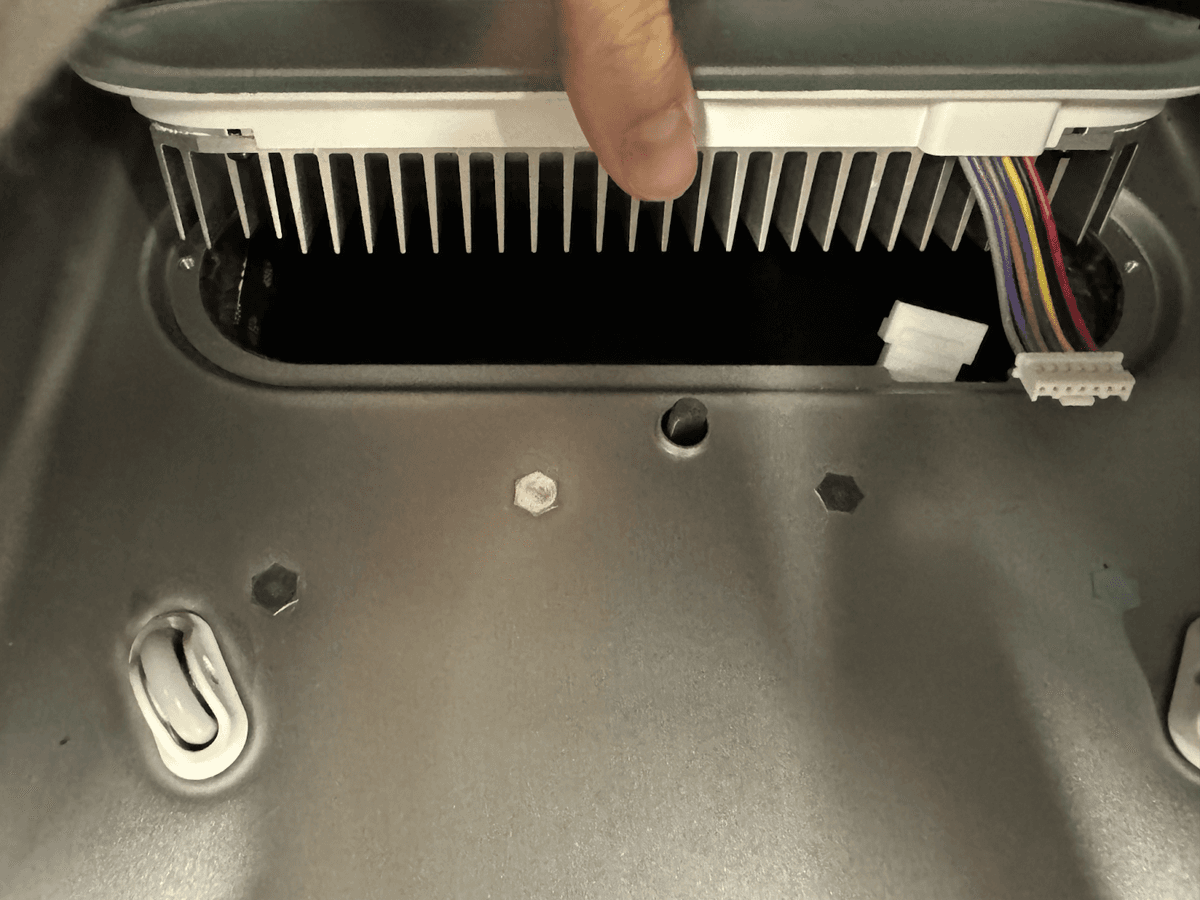
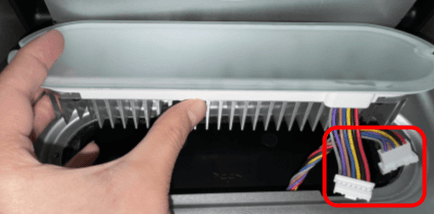
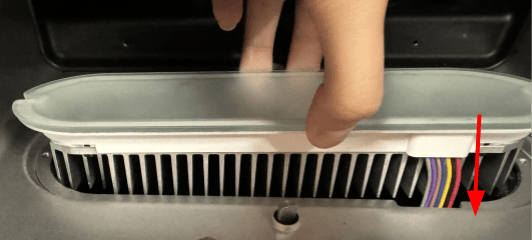
Gently lift the LED module from the machine. Do not pull, as the LED module is still connected to the unit. Grip the connector for the module you are replacing and disconnect it. Do not pull on the wires. Ensure the cable does not fall into the cavity.
Step 3: Remove the LED module
Remove the LED module from the machine. Set the LED module aside for disposal with electronic waste.
Step 4: Remove the other LED modules (OPTIONAL)
Repeat steps 1–3 for any other LED modules you are replacing.
安装 LED 模块替换件
OVERVIEW: Mount and secure the replacement LED module.
Step 1: Align the replacement LED module

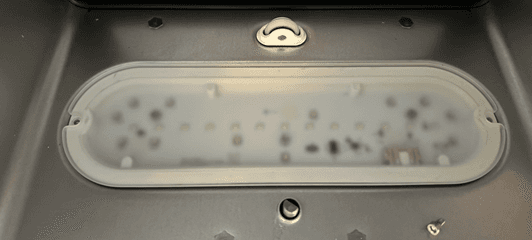
Align the LED with the cavity in the post-cure chamber and the LED cable in the module with the corresponding cable connector in the post-cure chamber.
Step 2: Connect the LED module cable

Connect the LED module cable to the replacement LED module. The connector only plugs into the module in the correct orientation. Be careful not to bend the pins in the connector.
Step 3: Mount the replacement LED module


Place the replacement LED module on its mounting surface. Ensure that the cable harness is inside the cavity and the LED module is flush with the interior panel.
Step 4: Secure the replacement LED module

Thread one LED module retention screw into each of the two screw holes. Use a 2.5 mm hex driver to tighten the screws until they are snug.
Step 5: Remove the other LED modules (OPTIONAL)
Repeat steps 1–4 for any other LED modules you are replacing.
完成修复
OVERVIEW: After installing the replacement LED modules, power on the machine and perform final checks.
Step 1: Insert the turntable mount and turntable


Align the turntable mount with the corresponding profile into the post-curing chamber. Press into place. Place the turntable onto the turntable mount.
Step 2: Power on the machine
Close the Form Cure door. Connect the power cable to the Form Cure and the power supply. Flip the breaker switch on the back of the unit to the ON position to turn on the machine. The Form Cure initializes.
Step 3: Test the repair
Start a post-cure cycle. Contact Formlabs Support or your authorized reseller to share the results of the procedure.