Required supplies:
Formlabs:
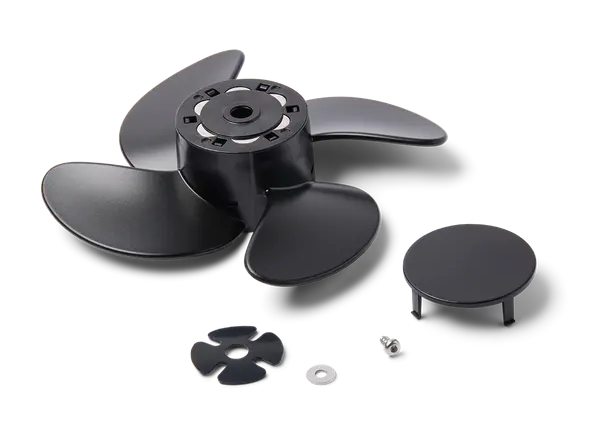
- Replacement impeller (RP-WA2-IMP-01)
Third-party:
- 2 mm hex driver
- Small flat-blade screwdriver
- Nitrile gloves
- Solvent storage container (15 L)

Form Wash(第二代)配备有叶轮,用于搅拌清洗桶中的溶剂,以协助清洗打印部件。Form Wash(第二代)叶轮损坏可能会导致设备发出巨大的咔哒声或无法正常运行。
请根据本指南更换 Form Wash(第二代)叶轮。
Required supplies:
Formlabs:
Third-party:
预计所需时间:30 分钟
准备工作区
概览:准备好 Form Wash 和水平的工作区,以便更换叶轮。
警告:
树脂可能引起皮肤刺激或皮肤过敏反应。处理液态树脂或树脂涂层表面时,请戴上手套。用大量肥皂和水冲洗皮肤。
Step 1: Raise the Form Wash elevator
Turn the Form Wash knob to select Raise on the display. Push the knob to confirm. The Form Wash raises the elevator and basket out of the wash bucket.
Step 2: Remove the wash bucket and inner lid
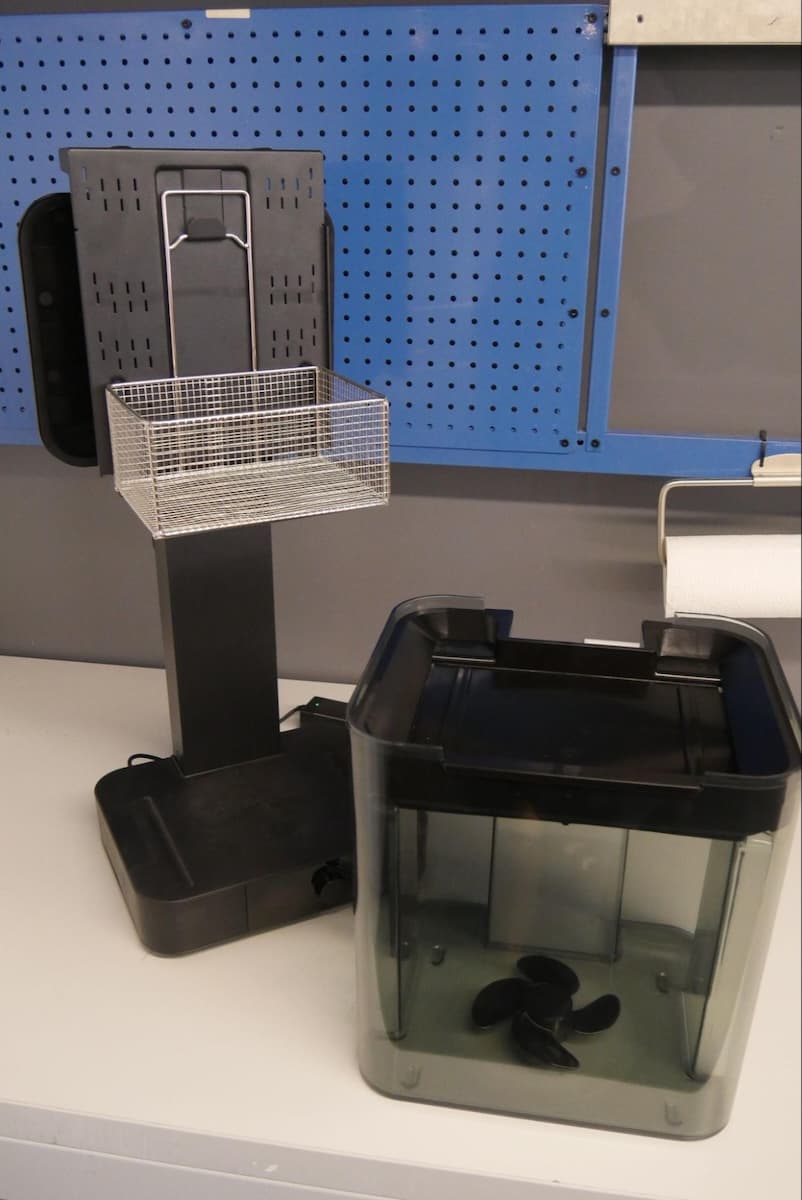
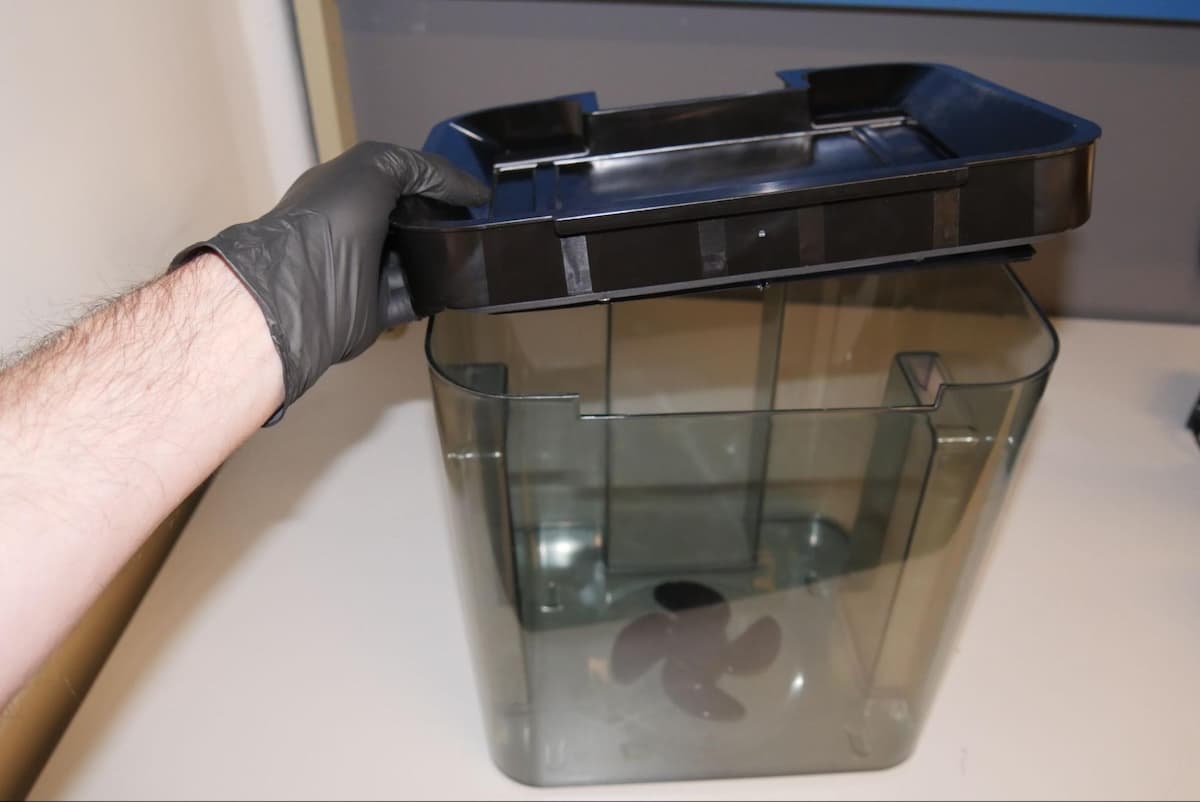
危险:
异丙醇属于易燃物质。请始终盖好容器盖子,防止儿童接触。
第 4 步:冲洗清洗桶
用水冲洗清洗桶,然后用纸巾擦拭残留物。
更换叶轮
Overview: Remove the impeller and install the replacement impeller.
Using a small flat-blade screwdriver or other similar tool, pry the cap loose from the impeller.
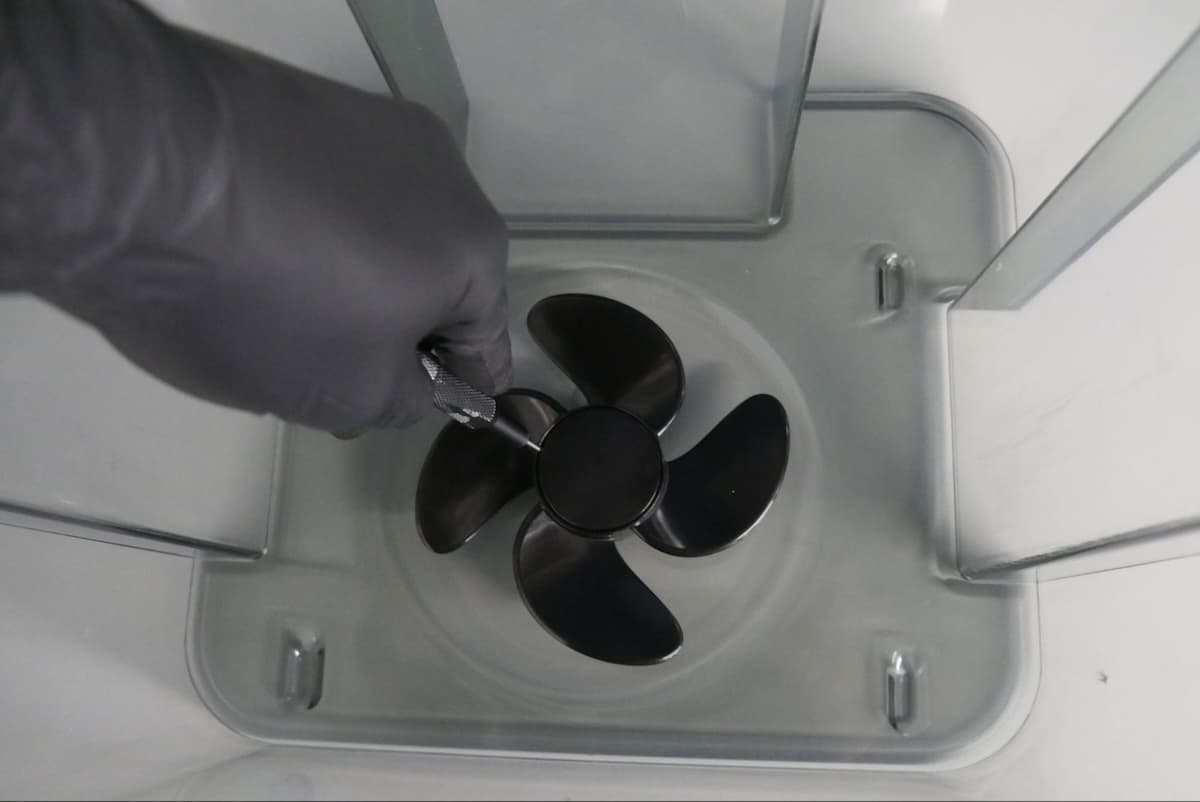
Step 2: Remove the impeller
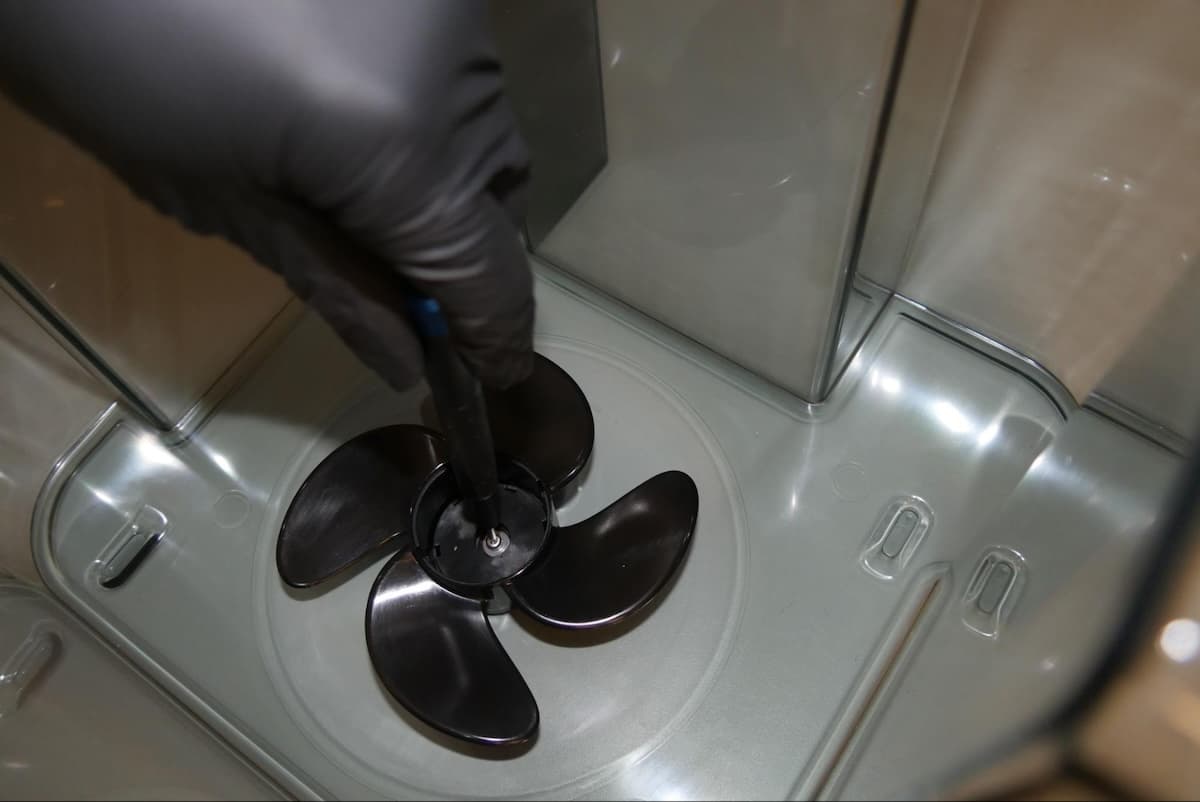
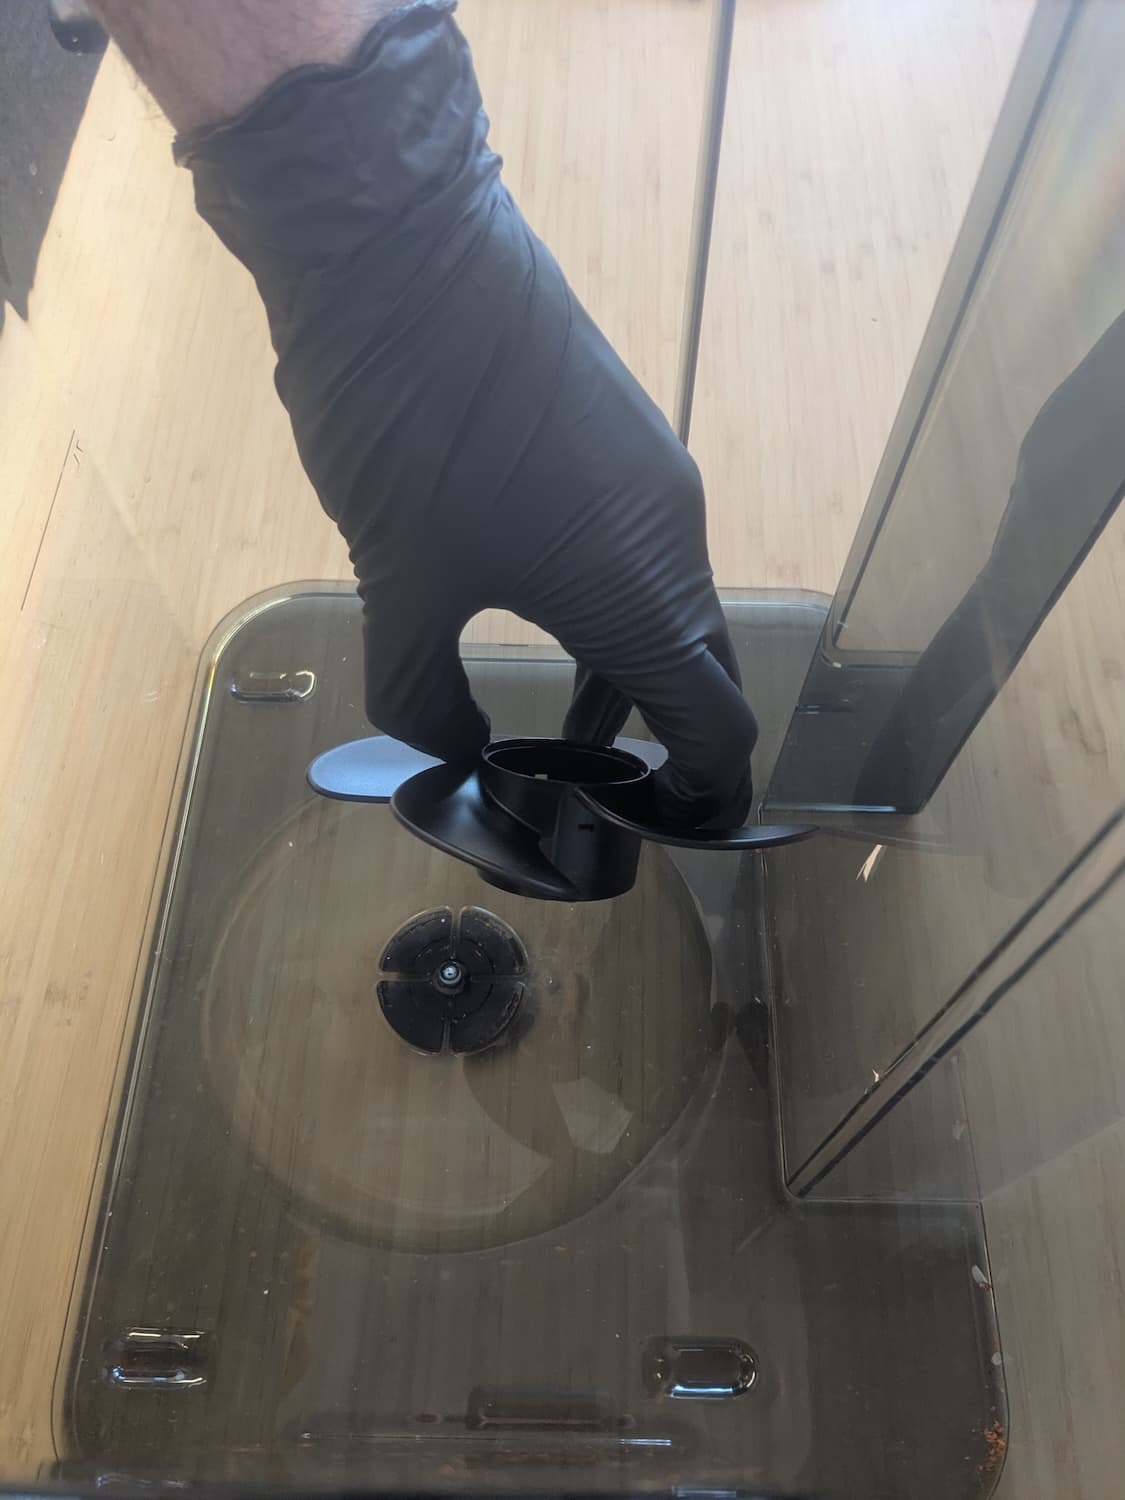
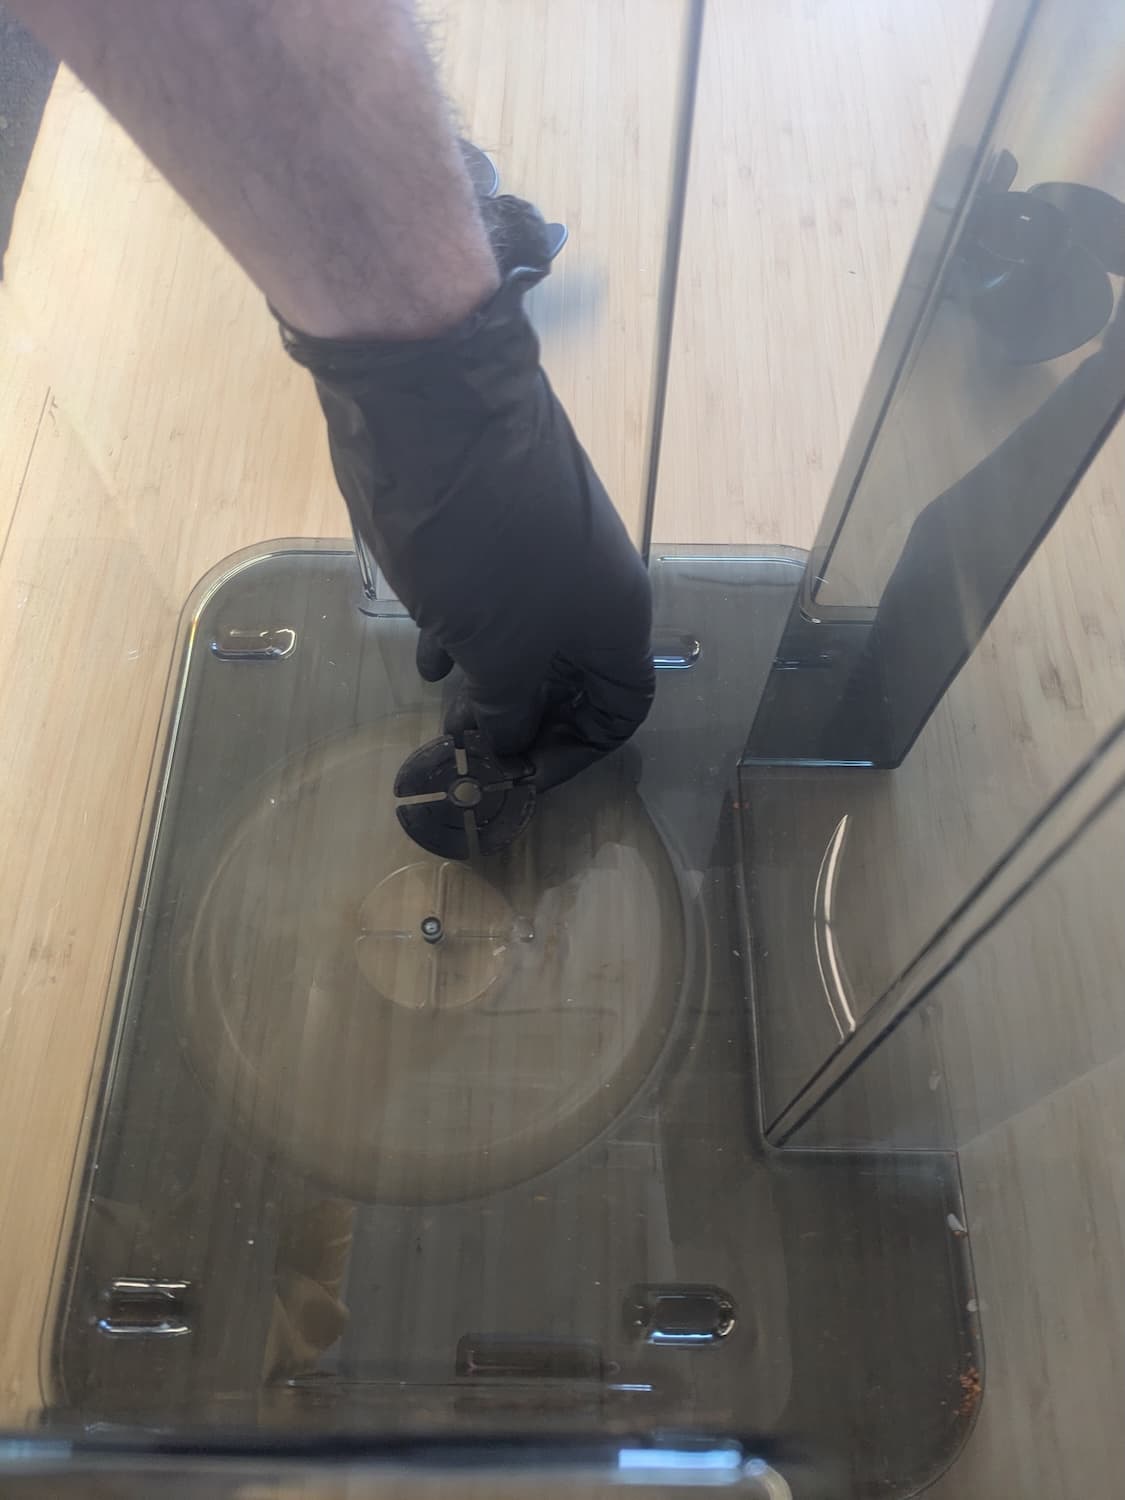
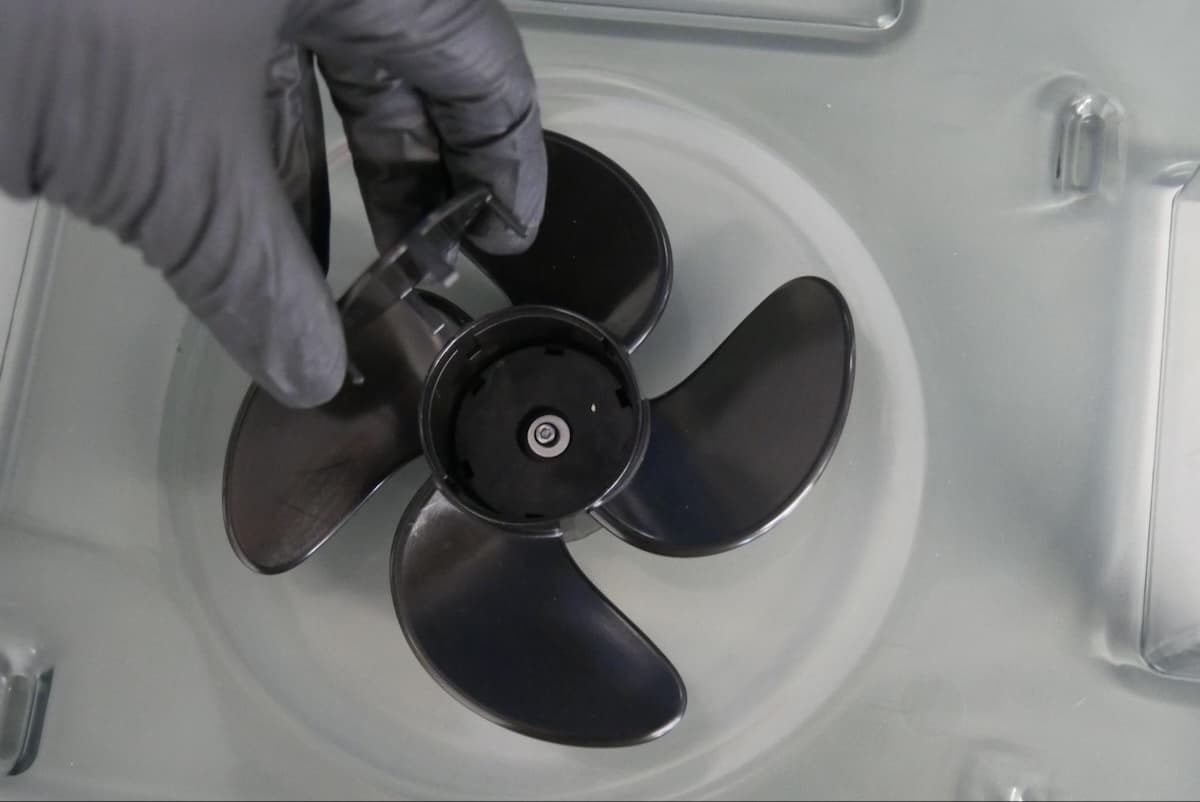
The impeller is secured by one screw with a washer. Use a 2 mm hex driver to remove the screw. Remove the washer, the impeller, and the flat four-lobed bearing below the impeller. Set the components aside for disposal.
Step 3: Install the replacement impeller
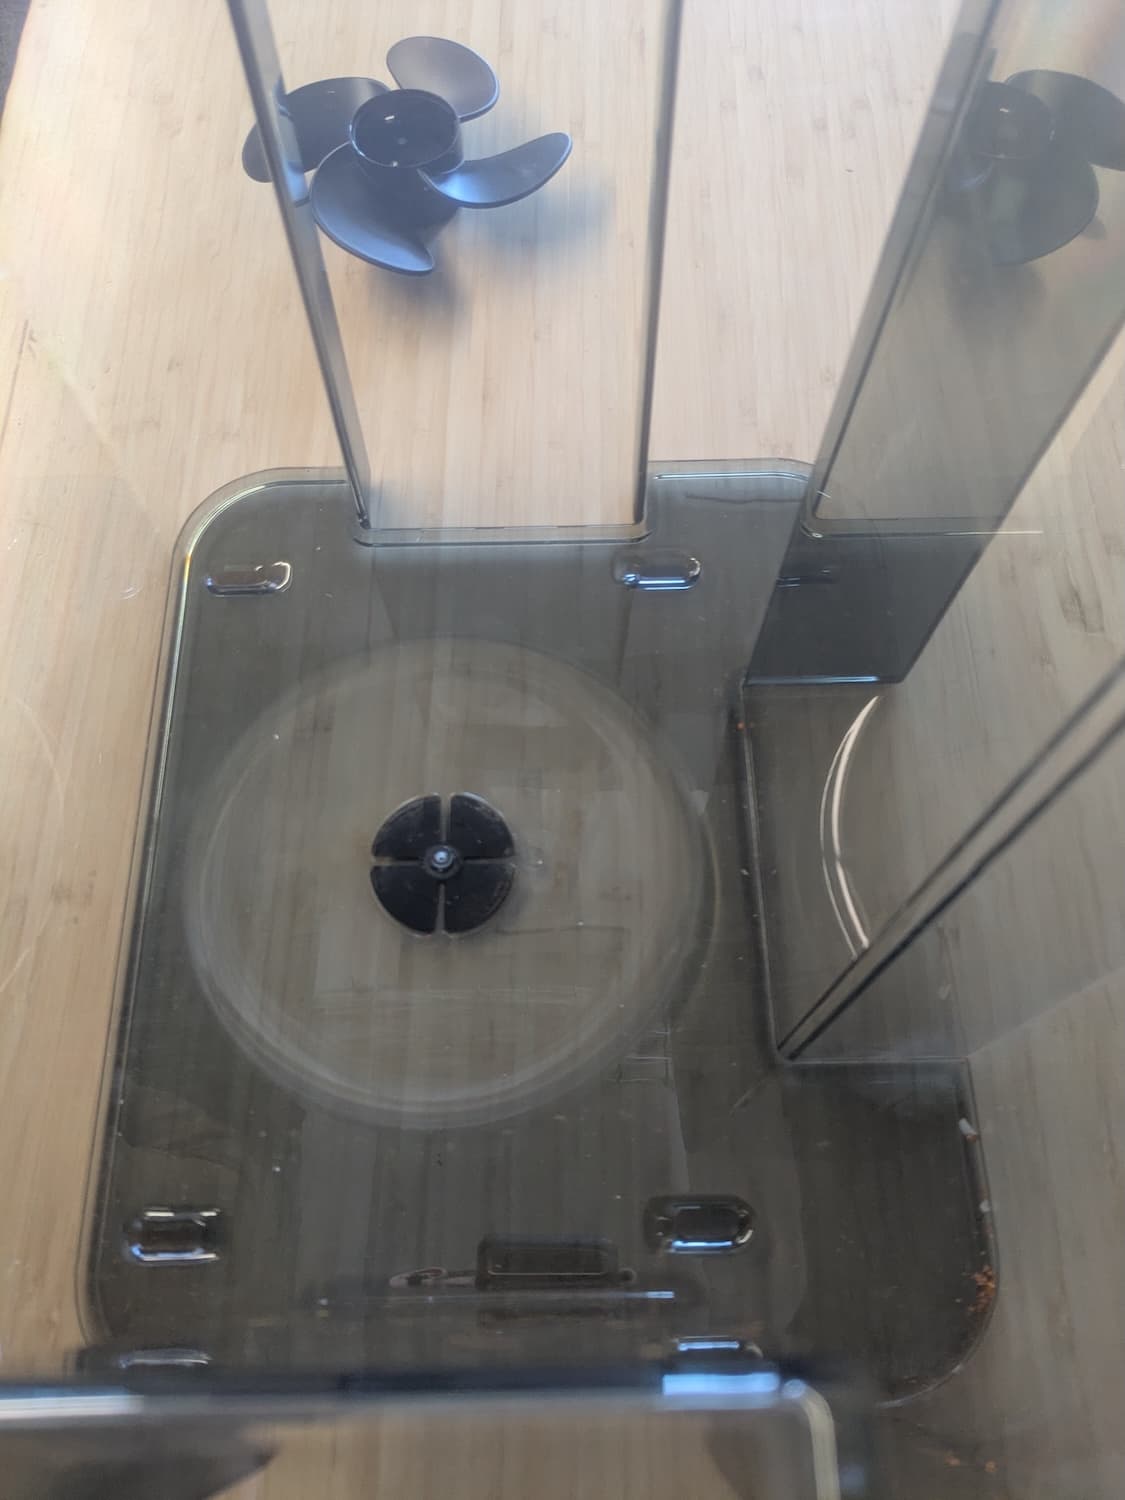
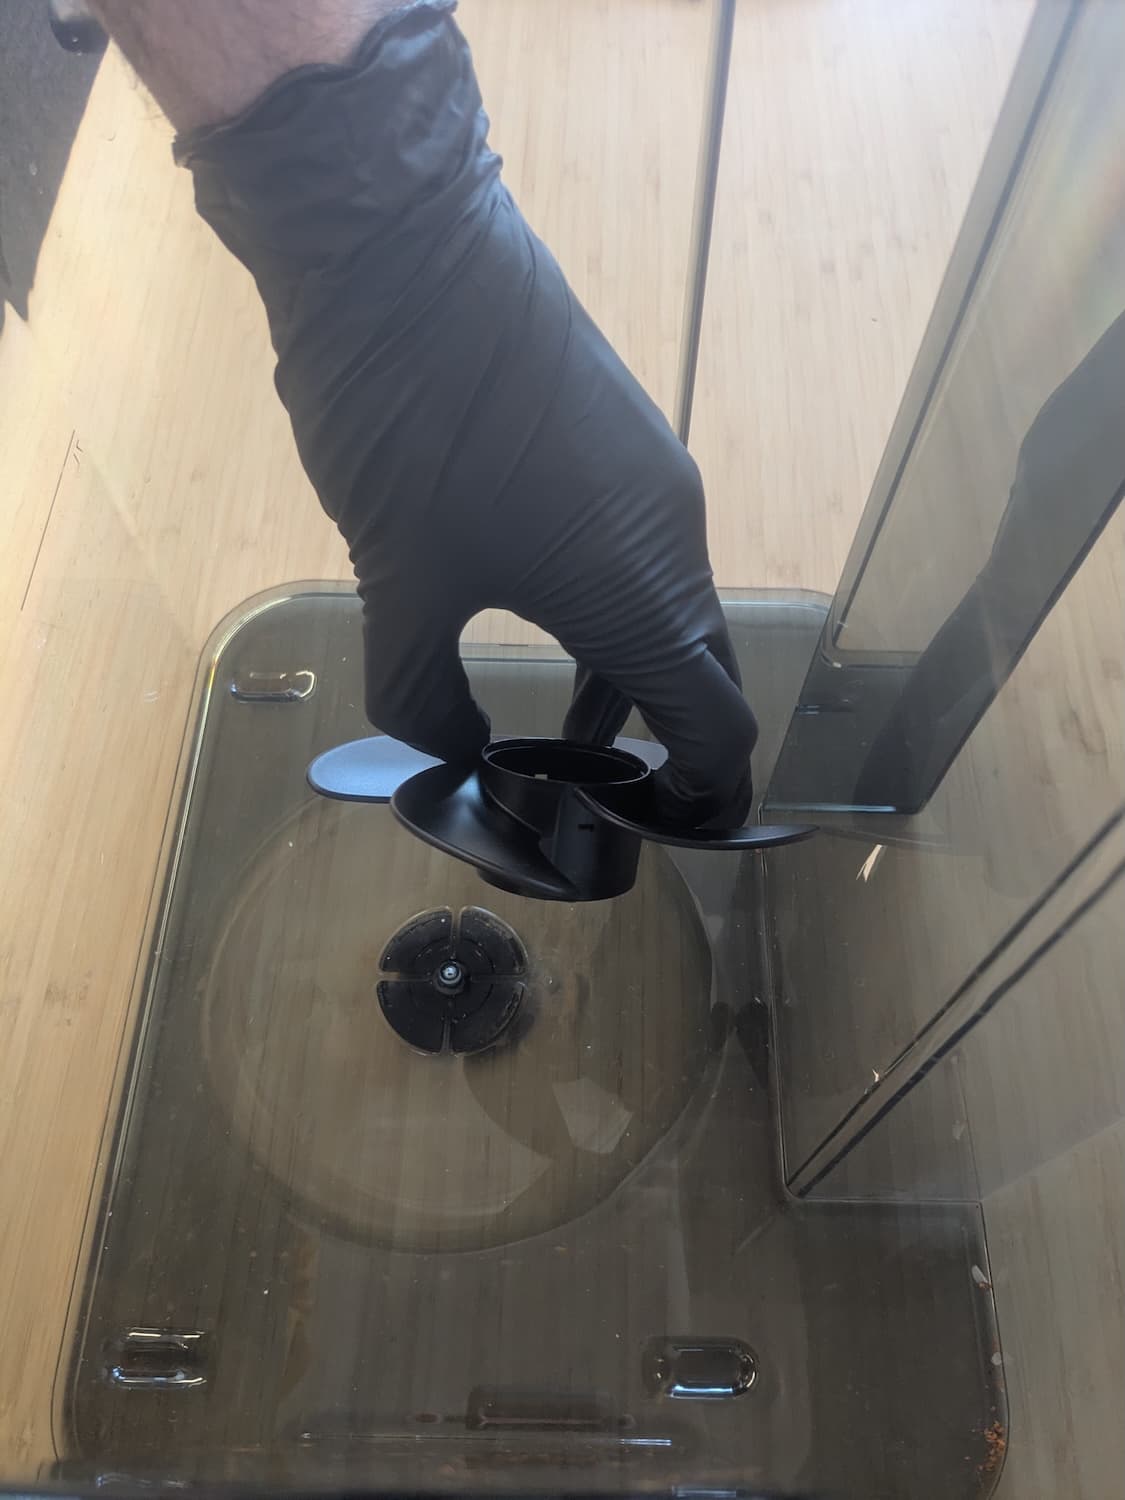
The wash bucket has an engraved depression shaped to hold the flat four-lobed bearing. Place the new bearing into this depression. Insert the new impeller into the wash bucket. Align the impeller’s screw hole with the corresponding screw hole in the wash bucket. The impeller should sit flat against the bottom of the wash bucket.
Step 4: Reinstall the impeller screw
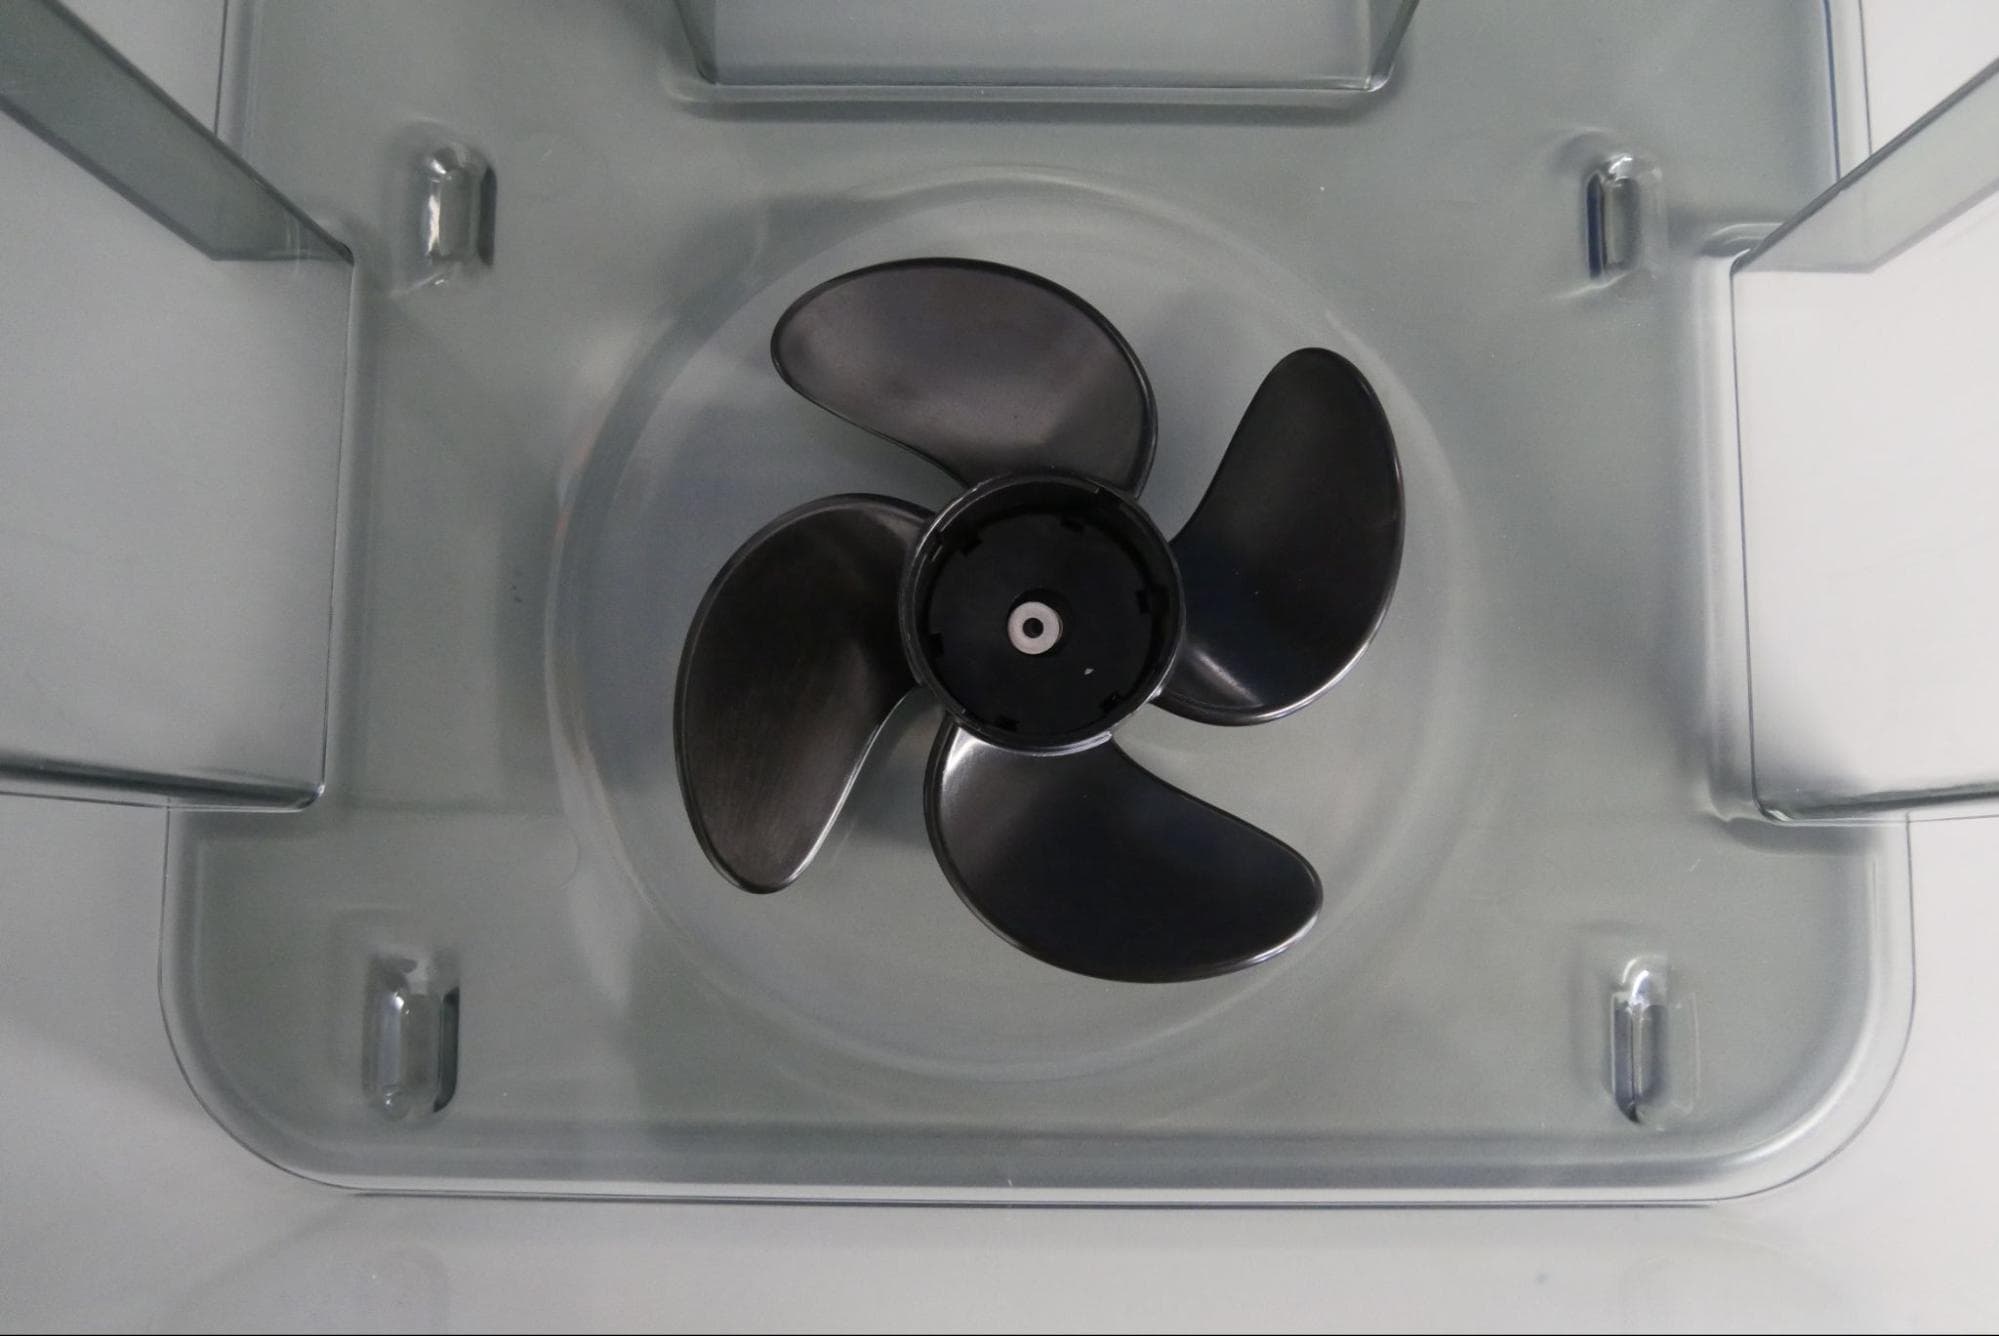
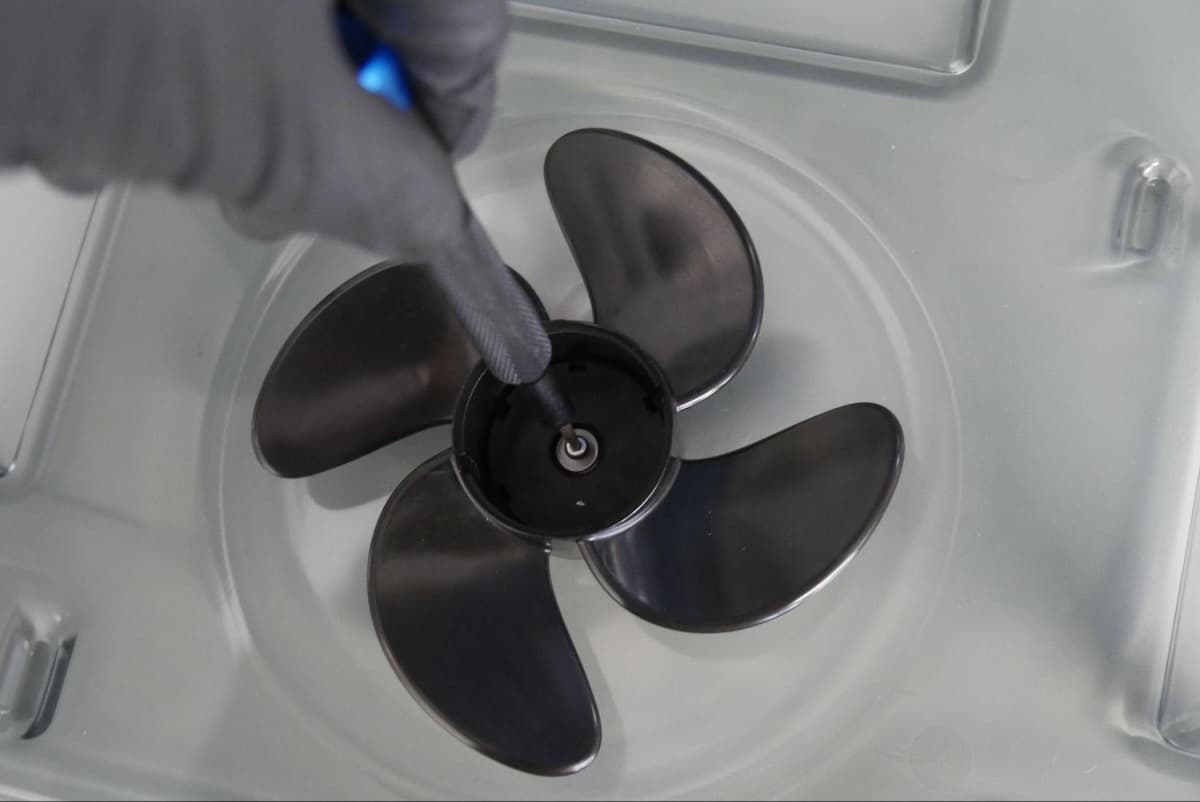
Place the washer onto the impeller’s screw hole. Thread the screw into the Form Wash impeller’s screw hole. Using a 2 mm hex driver, tighten the screw until finger tight. Take care to not overtighten or strip the plastic threads in the wash bucket.
Spin the impeller by hand. It should spin freely. If it does not, loosen the screw half a turn and check again. Repeat as needed.
Align the posts on the impeller cap with the grooves of the impeller. Gently press the impeller cap into place.
完成修复
Overview: After installing the new impeller, power on the machine and perform final checks.
Step 1: Refill the wash bucket
Refill the wash bucket to your desired fill level.
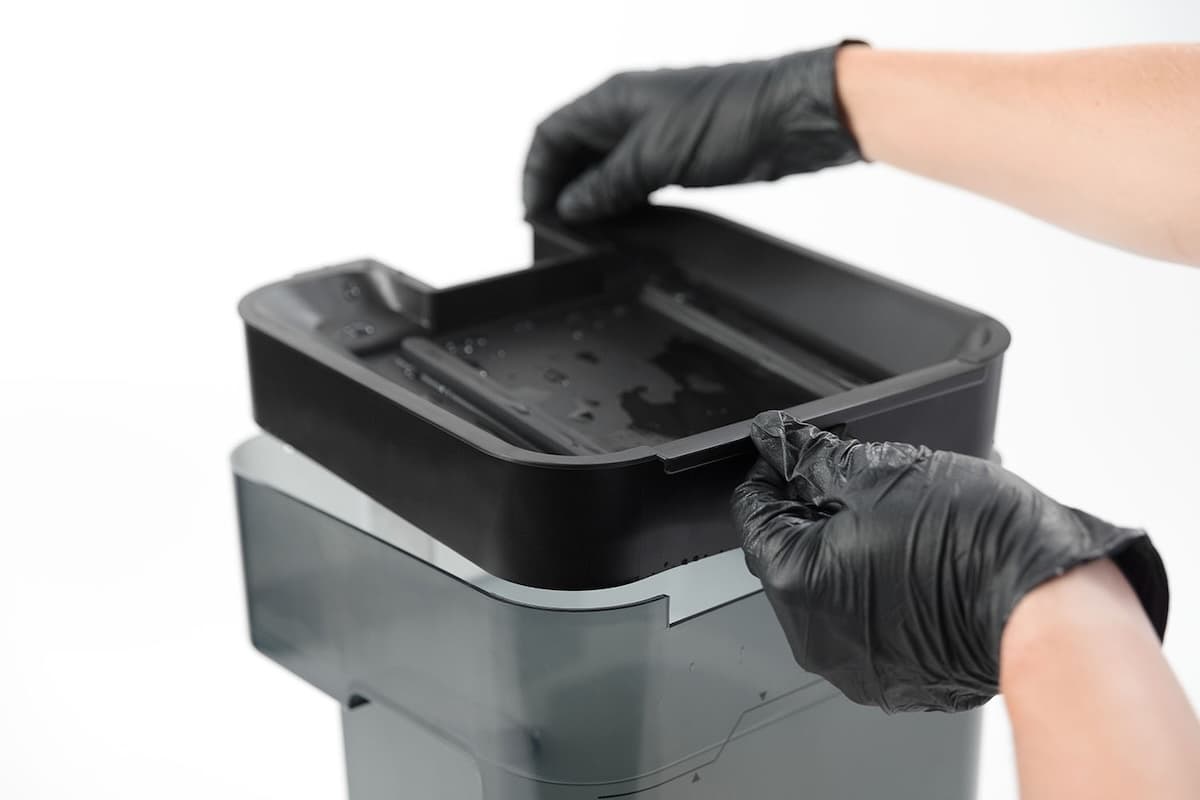
Align the front edge of the inner lid with the wash bucket’s edge and lower the inner lid directly into the top of the wash bucket.
Insert the wash bucket into the Form Wash.
Turn the Form Wash knob to select Lower on the display. Push the knob to confirm. The Form Wash lowers the elevator and basket into the wash bucket.
Step 5: Test the repair
Turn the knob to navigate the display menu and set the Time. Push the knob to select or confirm. Select Start. Check to see that the wash cycle starts normally and that the Form Wash does not make any unusual noises and that the impeller is moving properly. Contact Formlabs Support or your authorized reseller to share the results of the procedure.