白皮书
Formlabs Logo

Cleaning after a resin spill (Form 4 generation)

Cleaning after a resin spill (Form 4 generation)

Promptly clean and inspect the printer after a resin spill to minimize any cosmetic or functional damage to the printer. Learn about the primary causes of resin spills and how to prevent spills.

提示:

Contact Formlabs Support or your authorized reseller immediately if the resin spill is extensive or if resin may have reached inside the printer. 提供树脂溢出情况的照片。

树脂溢出后应立即采取的措施

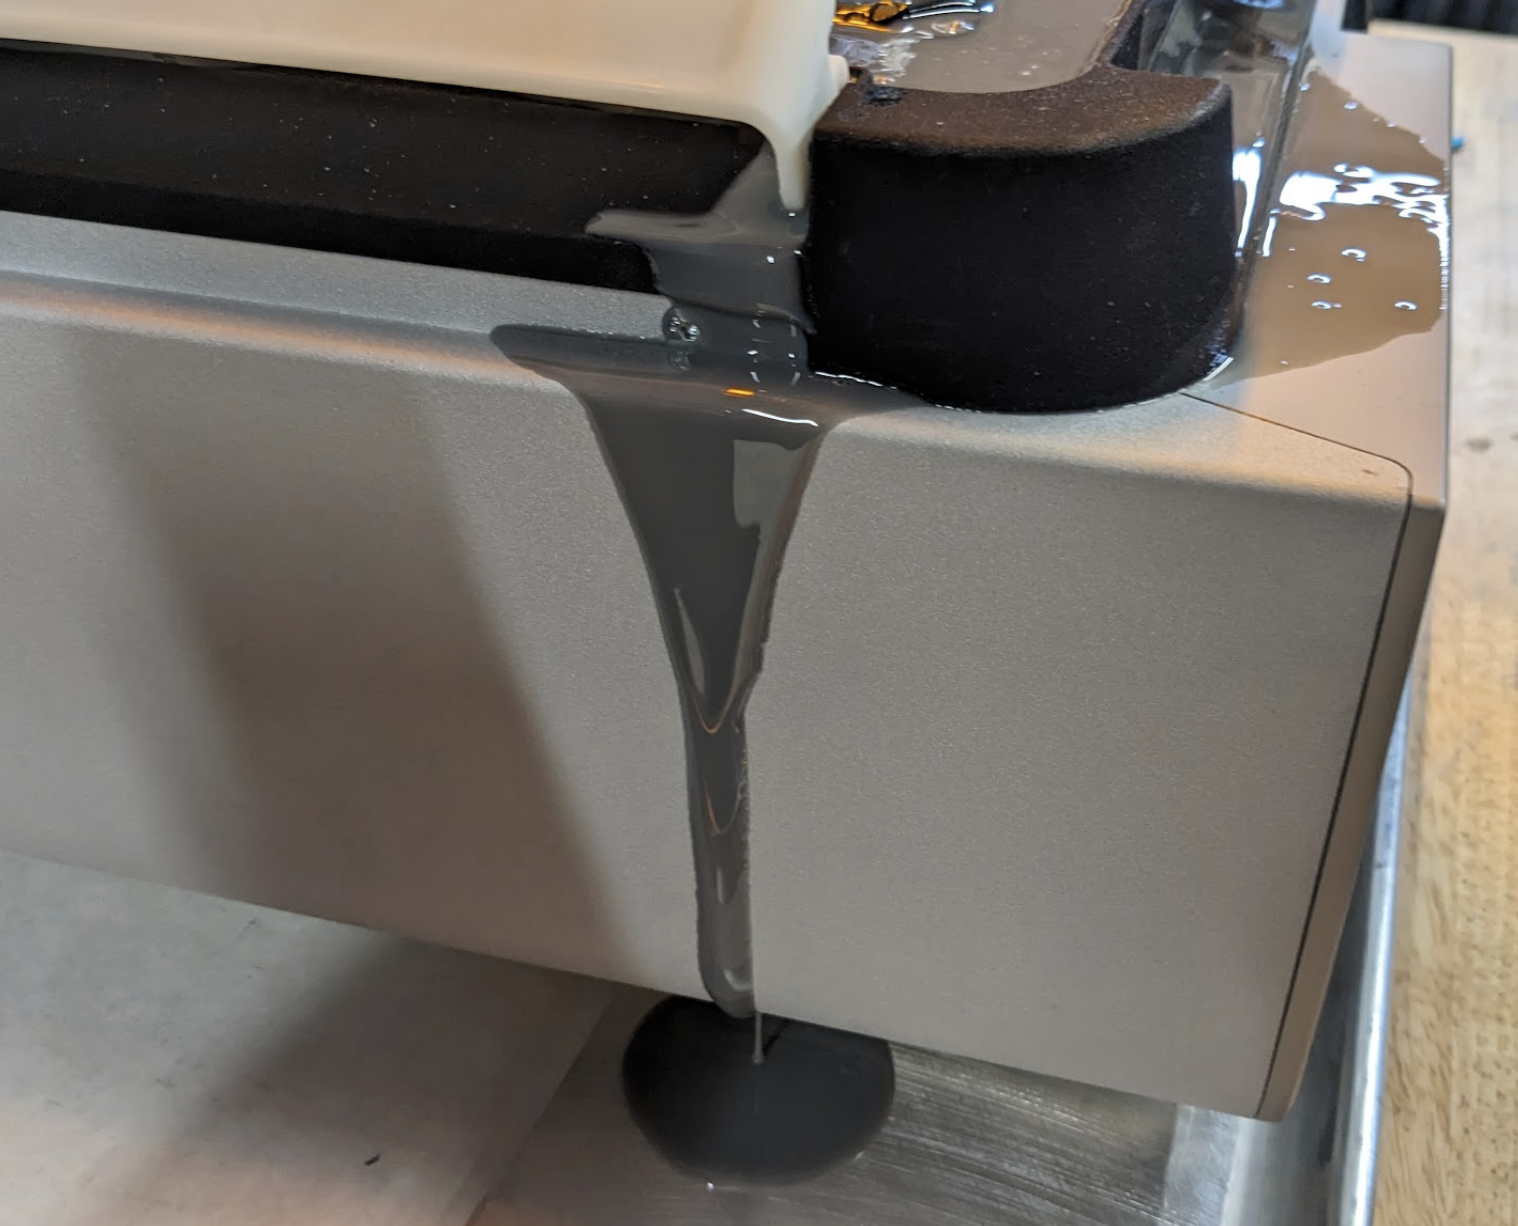
Small resin spills on the printer exterior are harmless and can occur during normal use. More extensive resin spills may require additional cleaning and support to assess and reduce potential damage. Resin inside the printer may contaminate or erode critical components. For more extensive spills, photograph the spill and contact Formlabs Support or your authorized reseller for further assistance.

  1. If a print is in progress, cancel the print on the Form 4 touchscreen.
  2. Clean the resin spill as soon as possible.
  3. If cleaning the resin spill immediately is not possible, keep the orange cover closed to prevent ambient light from curing the resin.

概览

警告:

树脂可能引起皮肤刺激或皮肤过敏反应。处理液态树脂或树脂涂层表面时,请戴上手套。用大量肥皂和水冲洗皮肤。

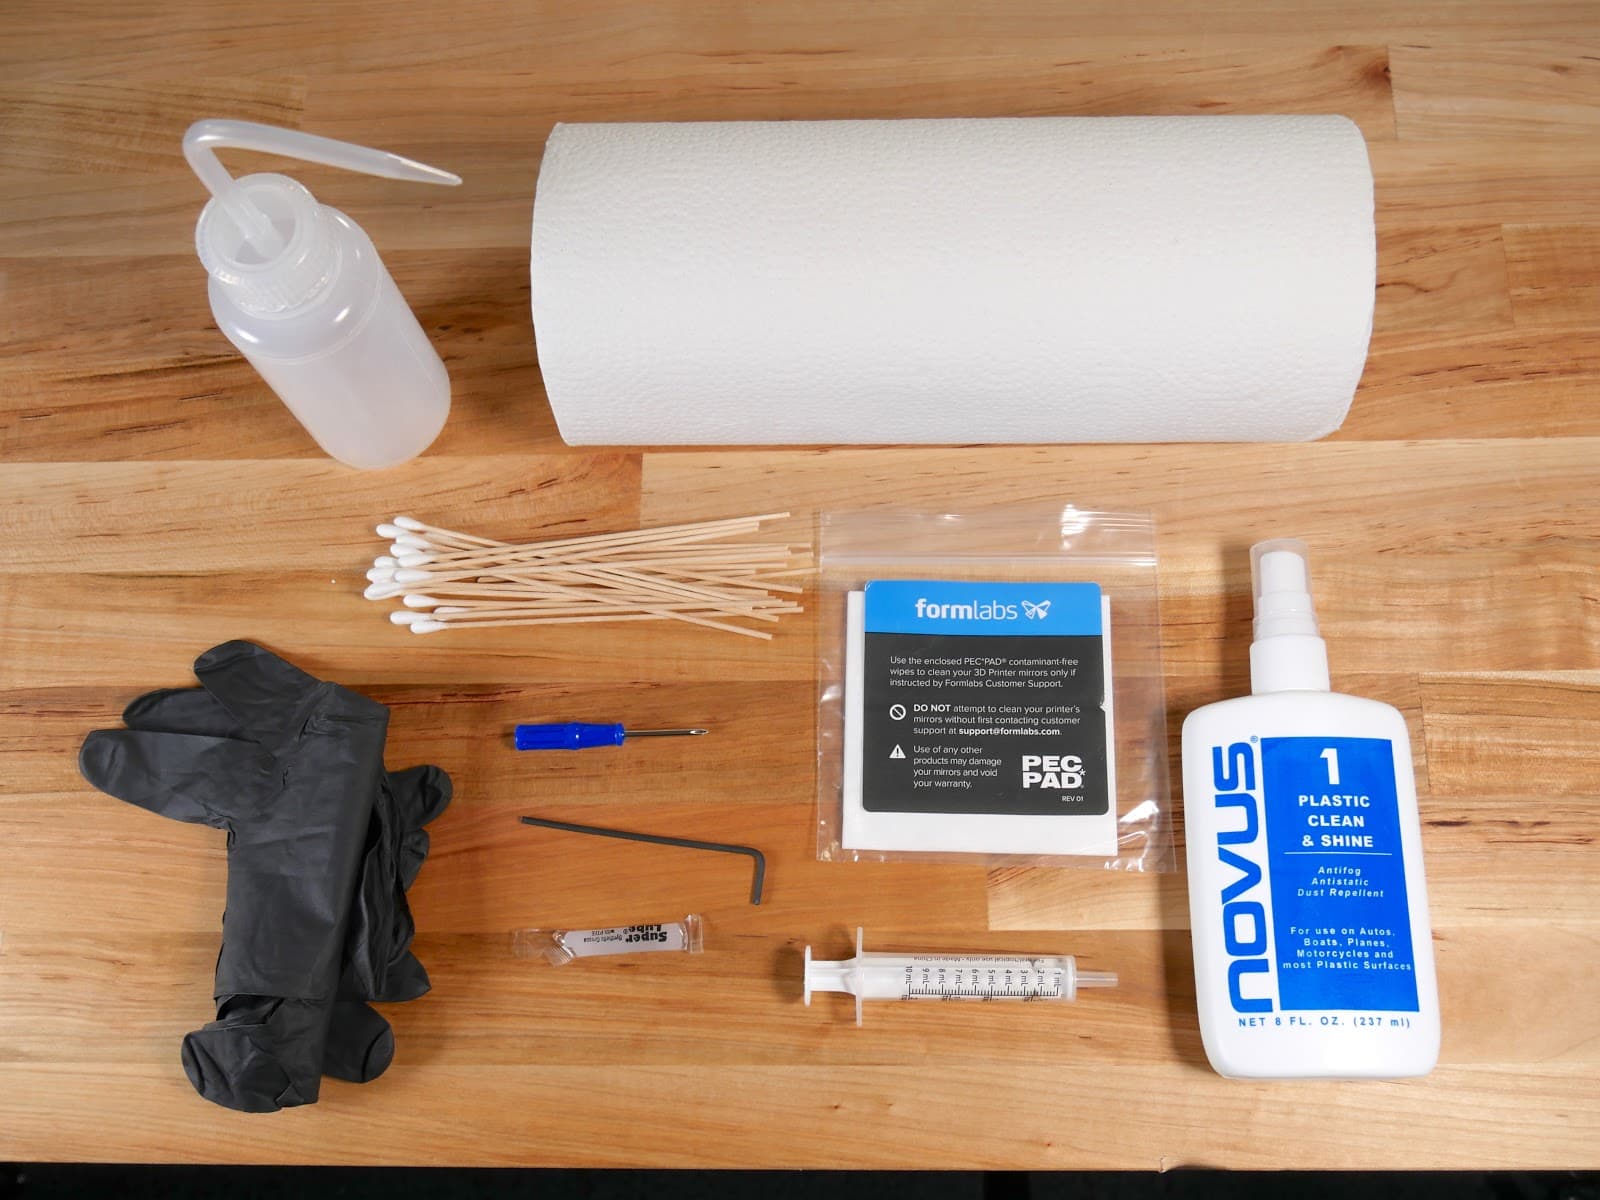
Recommended supplies:

  • Nitrile gloves
  • Soap and water
  • Low-fiber paper towels or disposable microfiber cloths
  • Clean IPA (70% or higher)
  • Cotton swabs
  • PEC*PADs
  • Novus 1: Plastic Clean & Shine, or similar plastic cleaner
  • Plastic spatula or similar
  • Flashlight
  • Disposable syringes or medicine droppers
替换文字

准备打印机

Prepare the printer for inspection and cleaning by disconnecting it from power and removing all consumables.

  1. Turn the power switch on the printer to the 0 position. Disconnect the power cable from the printer.
  2. Remove the build platform first to avoid dripping resin onto the LPU.
  3. Wipe off any resin on the build platform surface. Ambient light can cure liquid resin left on the metal plate, which can cause print adhesion issues.
  4. Remove the resin cartridge and close the vent cap.
  5. Unlatch the resin mixer. Cover the resin tank with the tank lid and remove it and the mixer from the printer. Make sure the tank is not leaking and set it aside.
  6. If the resin spill is extensive, take photos of the spill to share with Formlabs Support or your authorized reseller.

检查并清理外表面

打印机外部的液态树脂会使打印机难以使用或污染其他工作表面。若树脂溢出到其他工作表面上,请清理机罩、外壳和各端口。
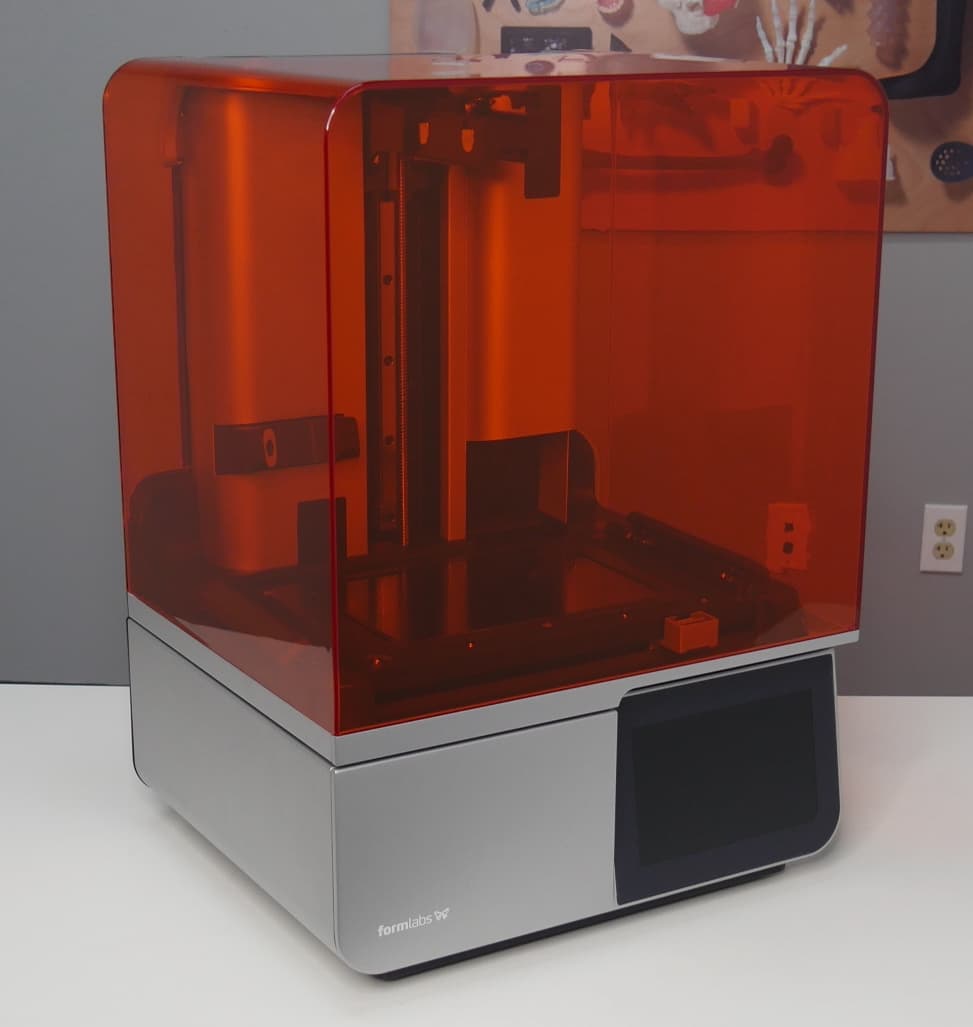
Orange cover

  1. Inspect both the inside and outside of the orange cover.
  2. Clean any liquid resin using paper towels dampened with soap and water.

Shell

  1. Dab the shell with paper towels to absorb liquid resin. Avoid smearing resin across the surface.
  2. If resin has cured on the surface of the shell, scrape off the cured resin using a plastic spatula. A metal spatula may scratch the shell.
  3. Clean the remaining resin off external surfaces with soap and water.
替换文字
替换文字

Note:

The Form 4 resin tank features a groove on the left to redirect resin spills outside of the printer to prevent possible damage to the machine’s components.
alttext

Touchscreen

  1. Inspect the printer’s touchscreen.
  2. Clean any liquid resin using a microfiber cloth dampened with a small amount of IPA.

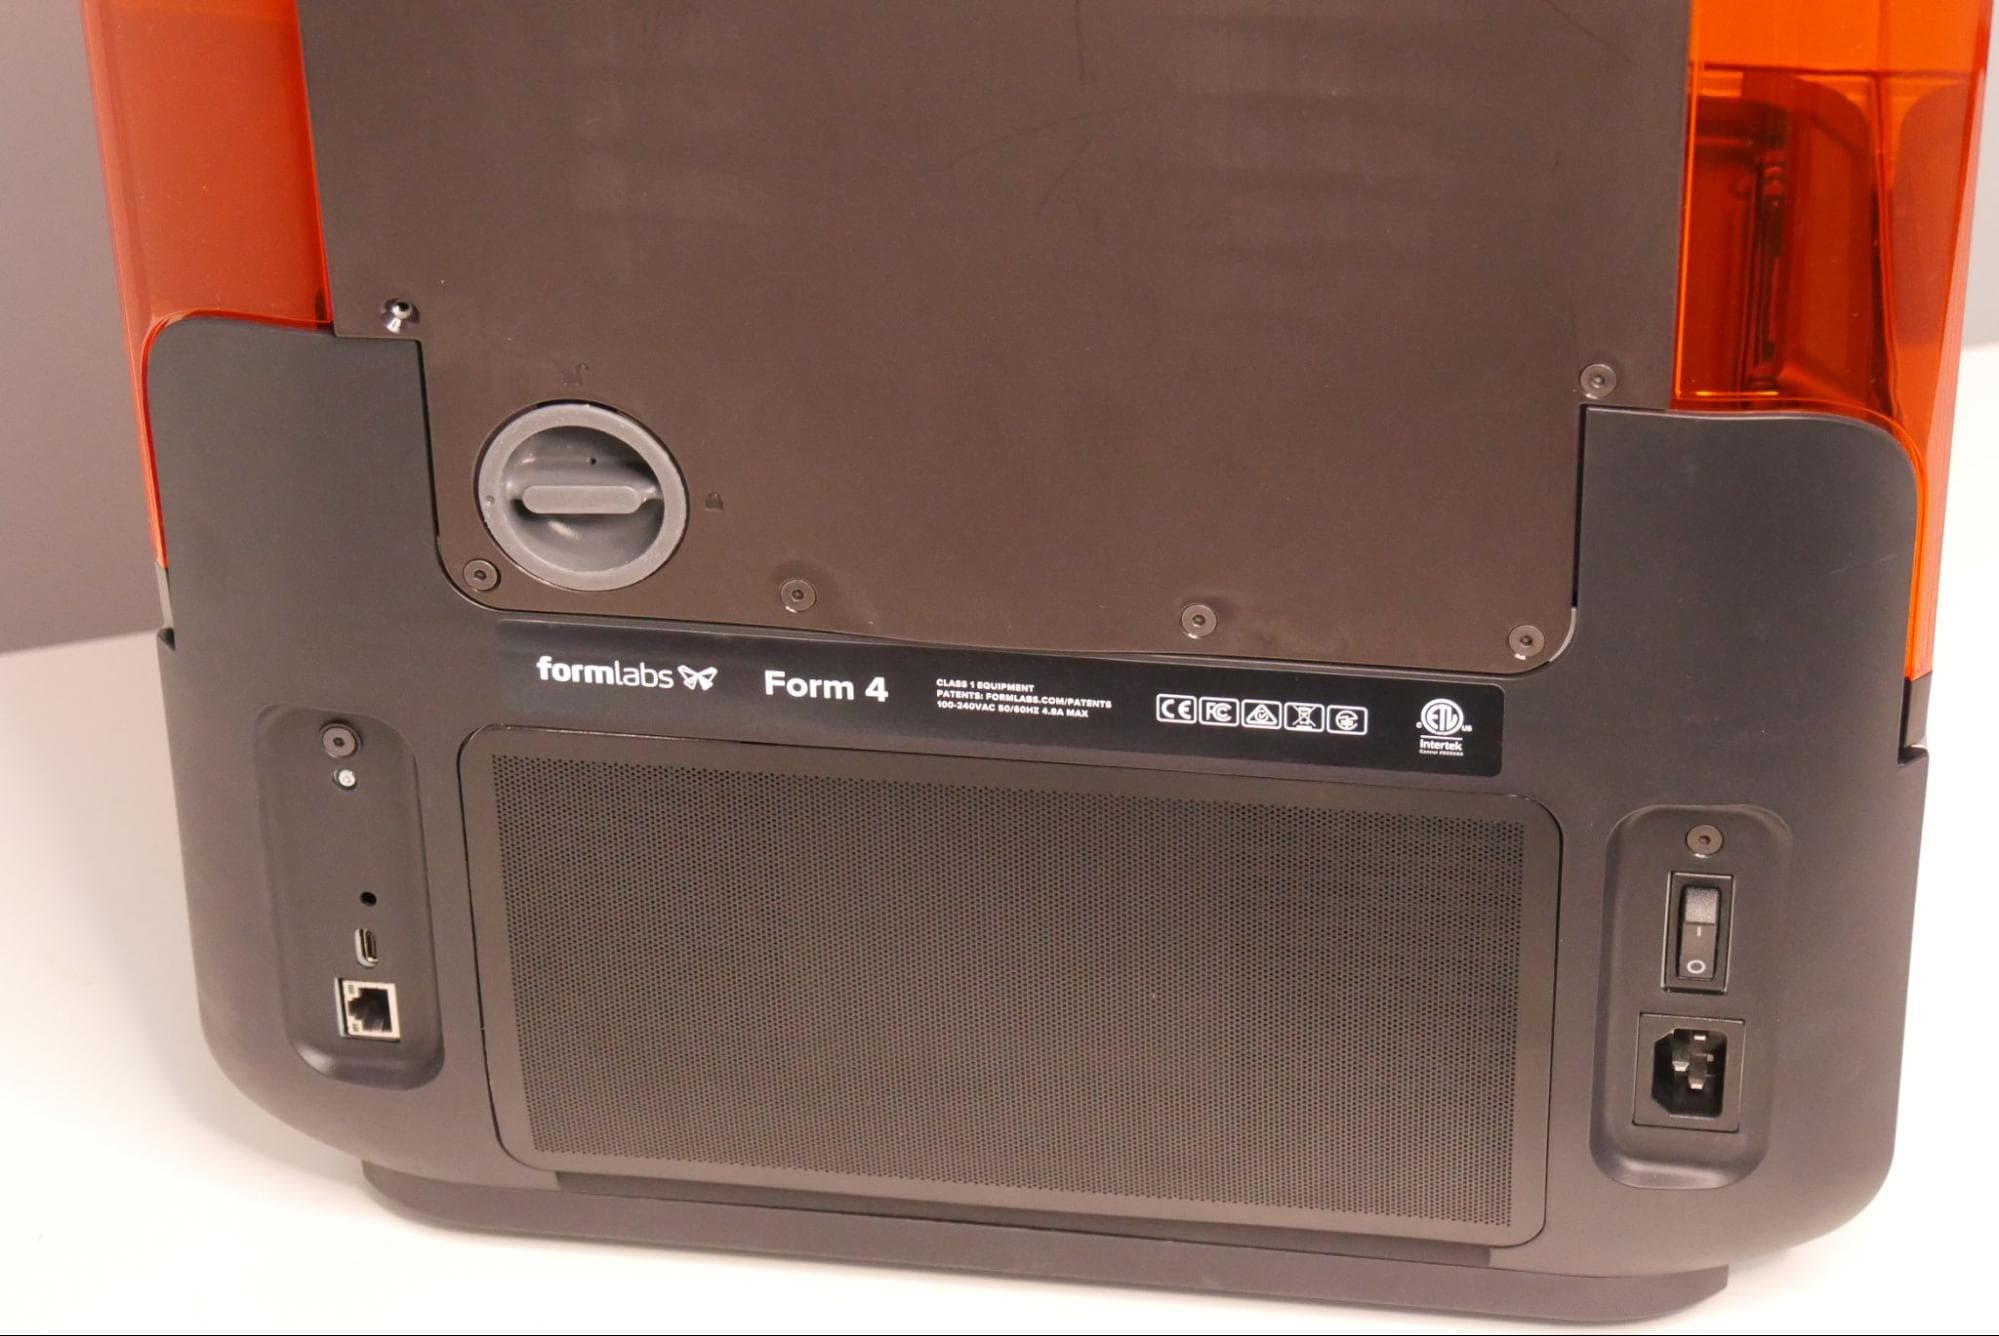
USB port, Ethernet port, power jack, and power switch

替换文字
  1. Inspect the USB port, Ethernet port, power jack, and power switch on the back of the printer for resin contamination.
  2. If needed, clean the contacts inside the port or power jack using cotton swabs and a small amount of IPA.

检查 Z 轴

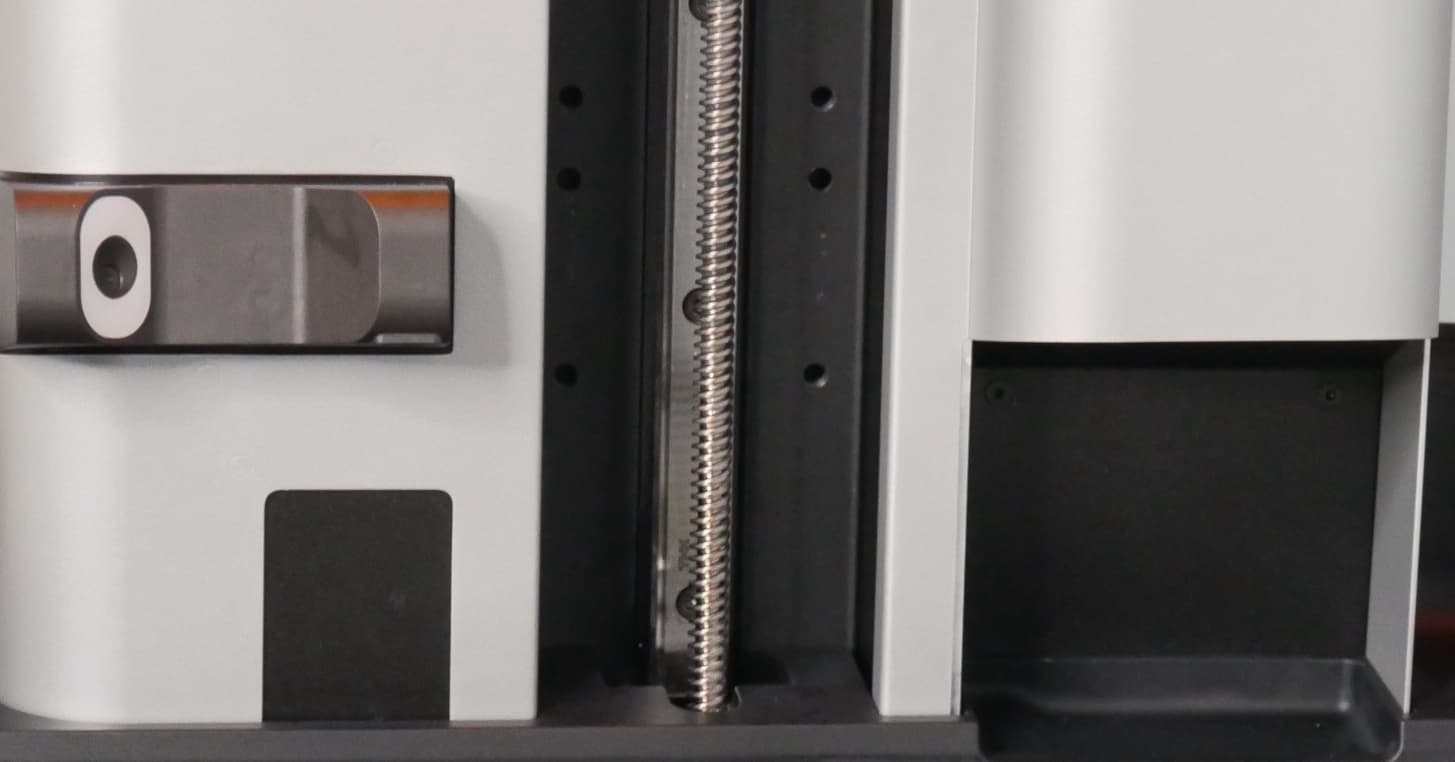
The Z-axis assembly contains the motor and lead screw that drive the build platform carriage. They must be clean for the build platform to move smoothly and accurately. There is a drip catcher below the cartridge slot, which can help prevent or mitigate any future resin spills.

Z-tower and drip catcher

  1. Clean any resin droplets on the Z-tower with a paper towel or cotton swab dampened with soapy water.
替换文字
  1. 使用手电筒,目测检查塔底部的集漏器是否滴有树脂。
  2. 使用注射器吸取聚集的树脂,并根据适当的程序处置液态树脂
  3. 用纸巾吸除残留树脂。
  4. 用肥皂水和干净的纸巾清除最后残留的树脂。

Z 轴马达和螺杆

替换文字
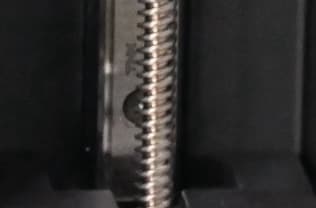
  1. 用手电筒沿着螺杆向下照射,检查塔底内部的 Z 轴马达,确定是否有树脂沿着螺杆渗入轴承。如果树脂已渗入轴承或马达,应拍照并联系 Formlabs Support 或您的授权经销商获取进一步帮助。
  2. 如果只是螺杆上有树脂,但 Z 轴马达上没有,则可使用纸巾或棉签及少量 IPA 清除螺杆上的树脂。

Tip:

If the lead screw is cleaned with IPA, lubricate the lead screw with Rheolube 362HB before printing again to prevent build platform movement issues.

检查树脂槽

Resin spills are sometimes caused by a failed print. The failed print will also leave cured resin in the resin tank. Inspect and clean the resin tank before running any further prints.

  1. Inspect the resin tank using the plastic tank scraper to check for any failed prints or damage to the tank.
  2. Remove any failed prints (using the plastic tank scraper and then by printing a cleaning sheet) and filter the resin.
  3. Dispose of the tank if there is significant wear or damage to the tank film or if resin leaks through cracks in the tank.

检查剥离纹理

Liquid resin on the release texture can contaminate the bottom of the resin tank and affect the quality of subsequent prints.

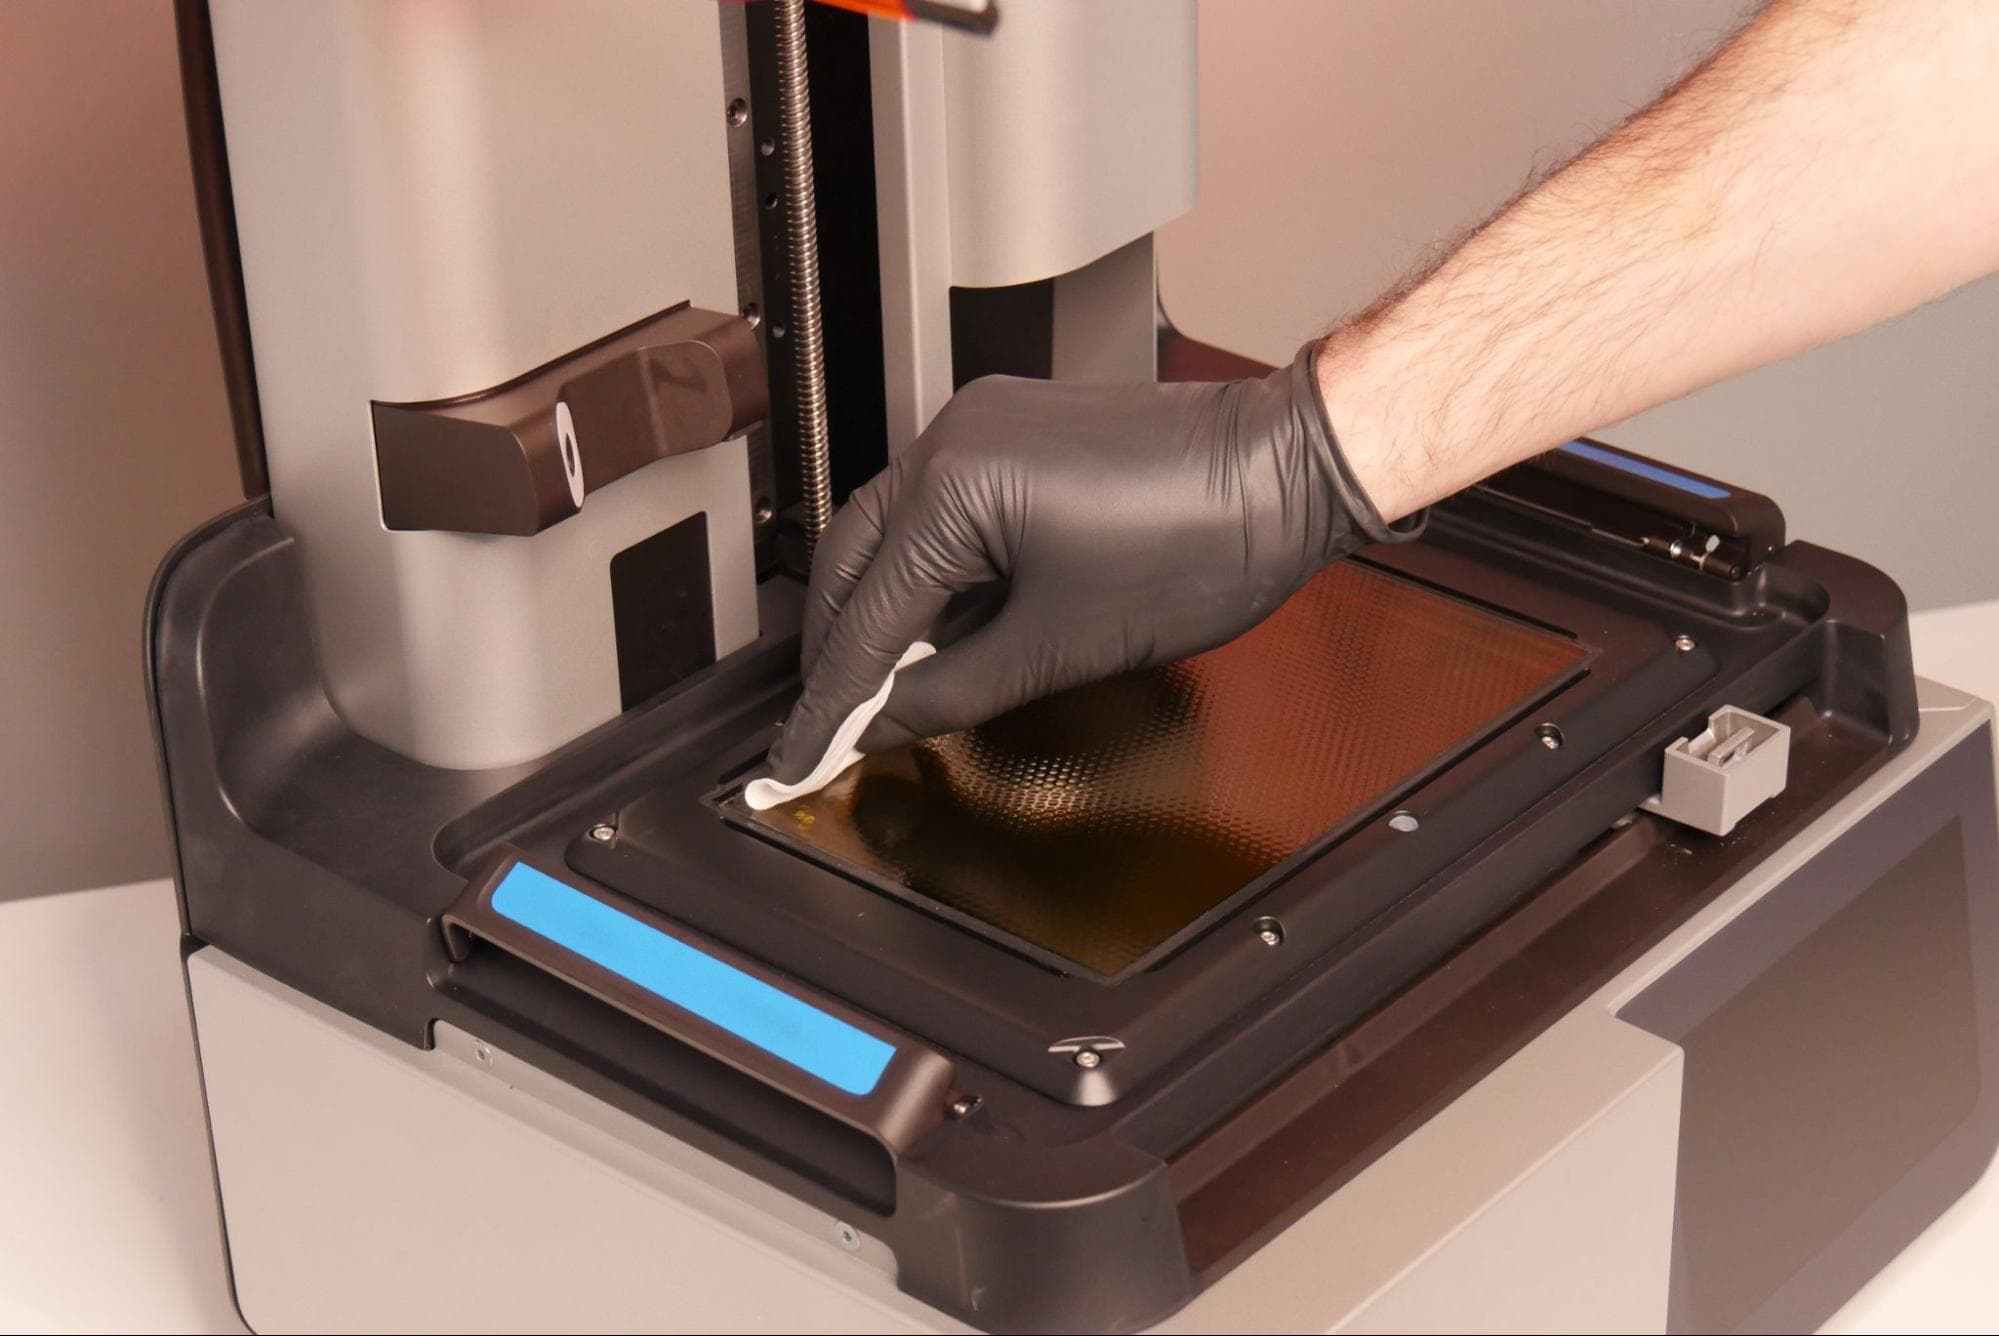
Clean any resin on the release texture with PEC*PADs. Dampen the PEC*PADs with isopropyl alcohol if necessary to fully remove the resin.

Form 4 cleaning sheet

在大量树脂溢出后拆卸和清洁光学元件

在某些情况下,液态树脂会渗入 LPU 边缘下方,污染 LPU、漫射板或背光模块。如果在清洁过程中发现树脂渗入 LPU 边缘下方,可以拆卸并清洁这些光学元件。

请按照下列部件更换指南拆卸 LPU、背光模块和漫射板。必须拆卸背光模块才能操作漫射板。如果发现液态树脂或其他污染物,请在无绒布上沾取少量纯净 IPA,擦拭受影响的表面。待部件风干后再重新安装。

清理

处置树脂和任何受其污染的物品时,务必遵循 SDS 的说明。将装有肥皂水的容器以及所有脏污的纸巾或棉签放置在窗口或其他阳光充足的地方,以使树脂在环境光线下固化。待树脂固化后,可将其随同日常生活垃圾一起处置。

注意:

确保所有组件完全干燥后,方可再次接通打印机电源。

联系 Formlabs Support

Contact Formlabs Support or your authorized reseller if the resin spill is extensive or if resin has reached the inside of the printer. Include the following with the support request:

  • Photo of the initial resin spill
  • Top-down photo of the release texture
  • Resin type and version
  • FORM file being printed when the resin spill happened
  • Diagnostic logs
  • The cause of the spill:
    • Failed print
    • Damaged resin tank
    • Damaged resin cartridge bite valve
    • Other (please provide additional information)

预防树脂溢出

Learn how to recognize common causes of resin spills and how to minimize the likelihood of resin spills.

While resin spills occur for a variety of reasons, the most common reasons are failed prints in the resin tank, damage to the resin tank, and damage to the resin cartridge bite valve.

Failed prints

When a print fails, the entire print or a part of the print may fall into the resin tank. The mixer is designed to detect such a failure and pause the printer, but some resin may still be spilled.

To avoid print failures, exercise these Form 4 best practices:

Damaged resin tank

A damaged resin tank can cause resin to leak onto the printer. The composite flexible film at the bottom of the tank can be damaged by improper storage (such as placing a tank down on top of another object) or rough handling (such as using a sharp tool to remove cured resin). Similarly, the plastic frame of the resin tank can crack due to an impact or other significant force. Use the provided plastic tank scraper to inspect the tank film and always handle the resin tank with care.

Damaged bite valve

A damaged bite valve on the resin cartridge can cause the printer to dispense too much resin, which can cause the resin tank to overflow in rare cases. Learn how to inspect and protect the bite valve.